
How to Cut a Modern Shag: Step-by-Step Dry-Cutting Guidefeaturing BaBylissPRO


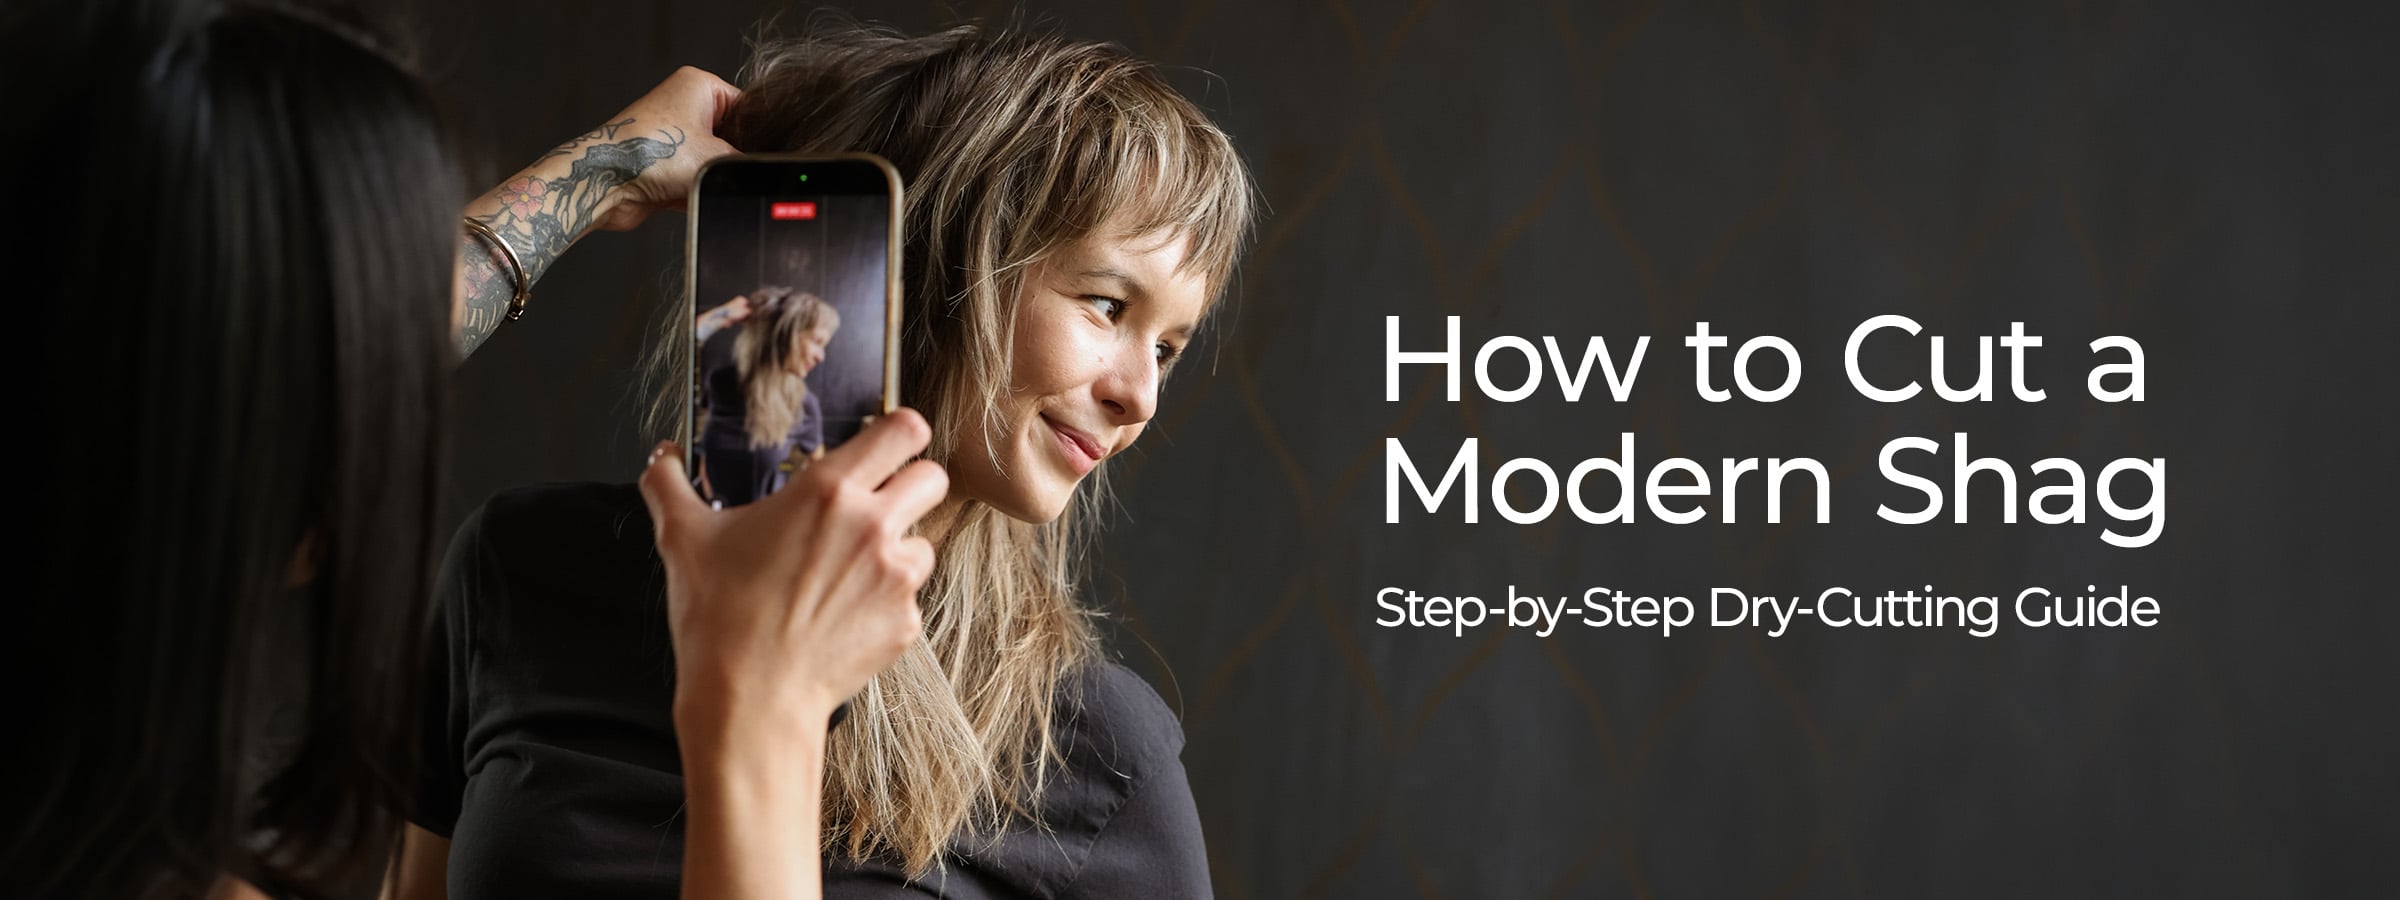
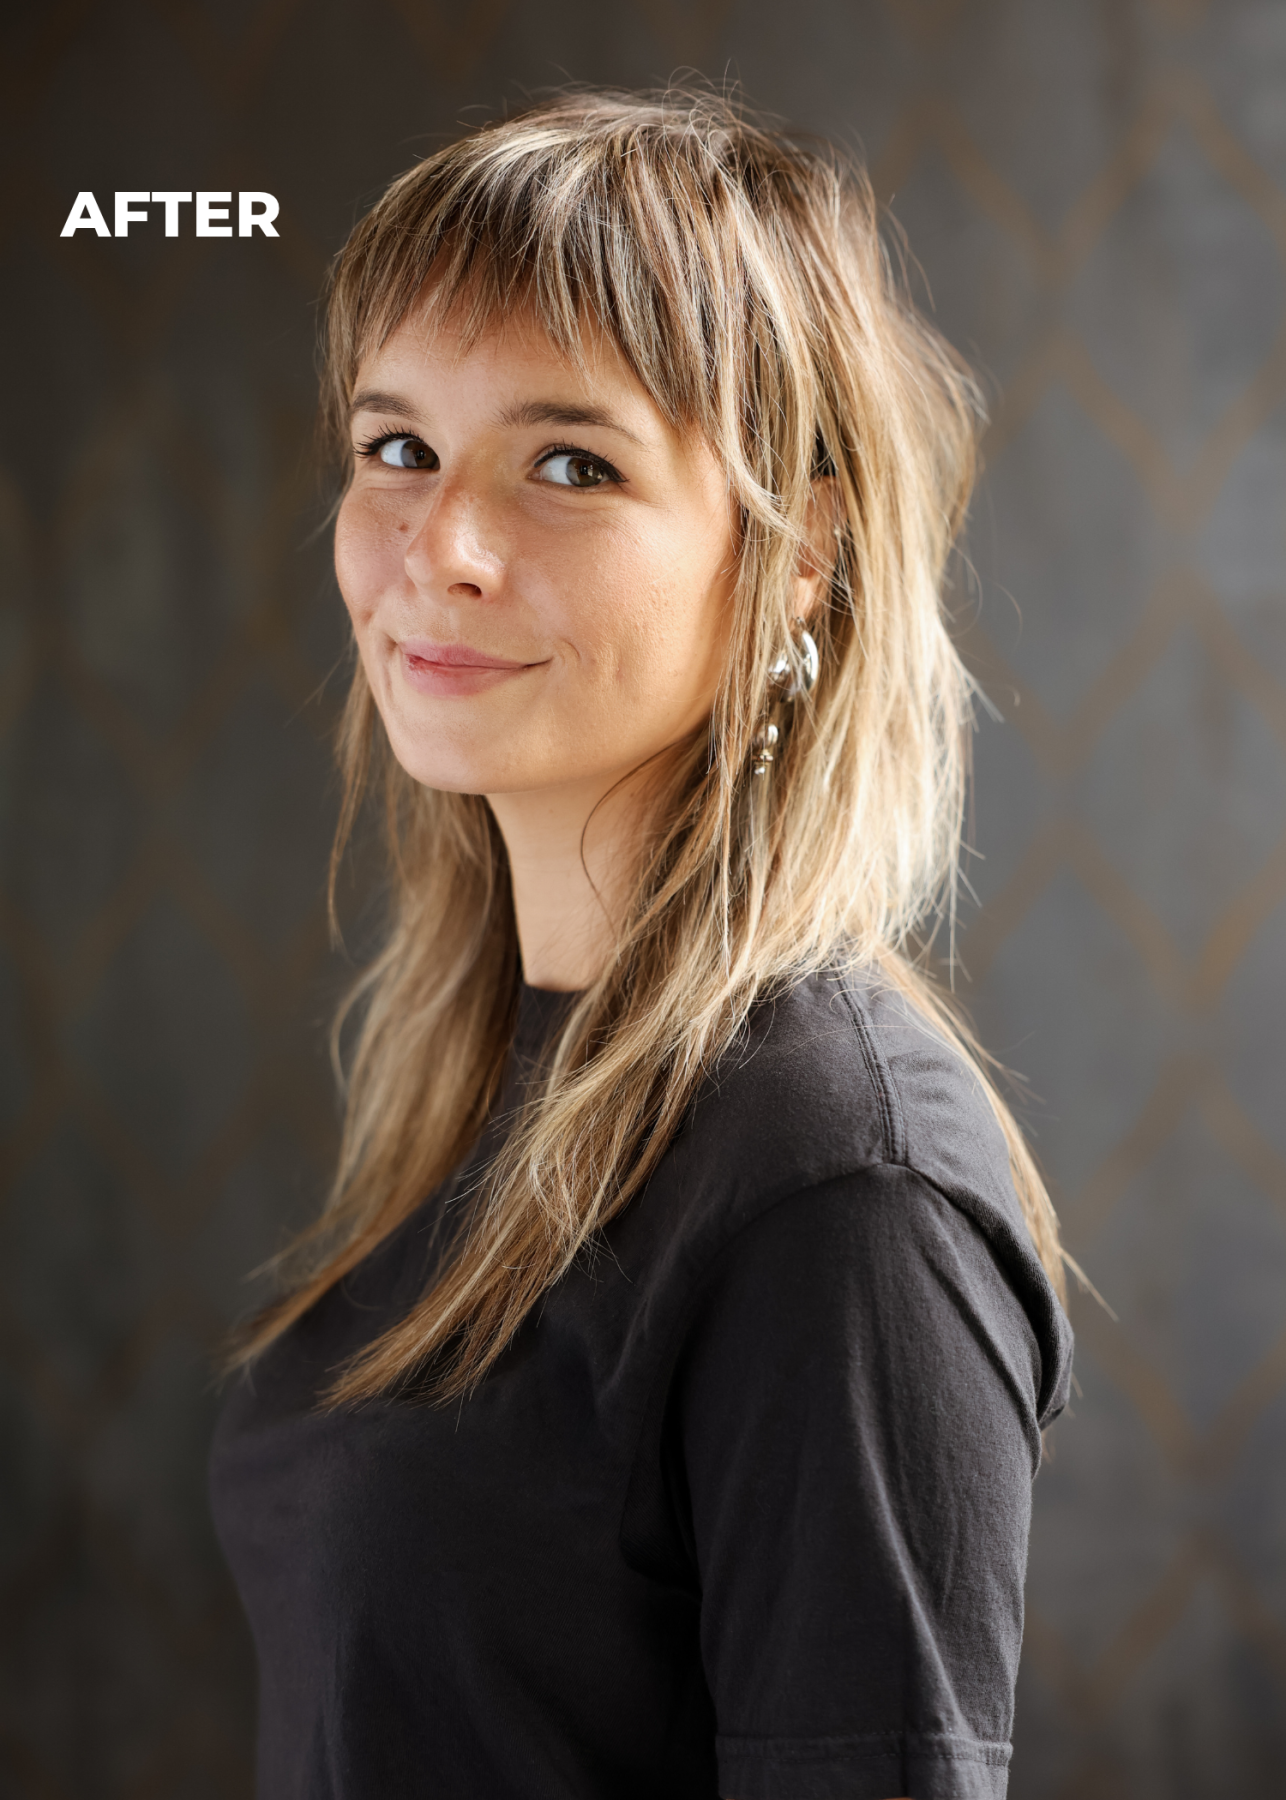
Few cuts deliver as much movement, texture and personality as a well-executed shag. For pros, that effortless, lived-in finish is anything but effortless to create - it takes precise sectioning, strategic weight removal and texture. This step-by-step guide by BaBylissPRO Educator Emily Chen (@emchenhair) explains her dry-cutting approach to the shag, from prep to finished style. Follow along to learn how to cut a modern shag with confidence!
PREP
1. Prep the hair with pomade and oil
Work a half-pea-sized amount of pomade and oil through dry hair. The pomade reduces static during dry cutting, and the oil helps distribute it evenly.
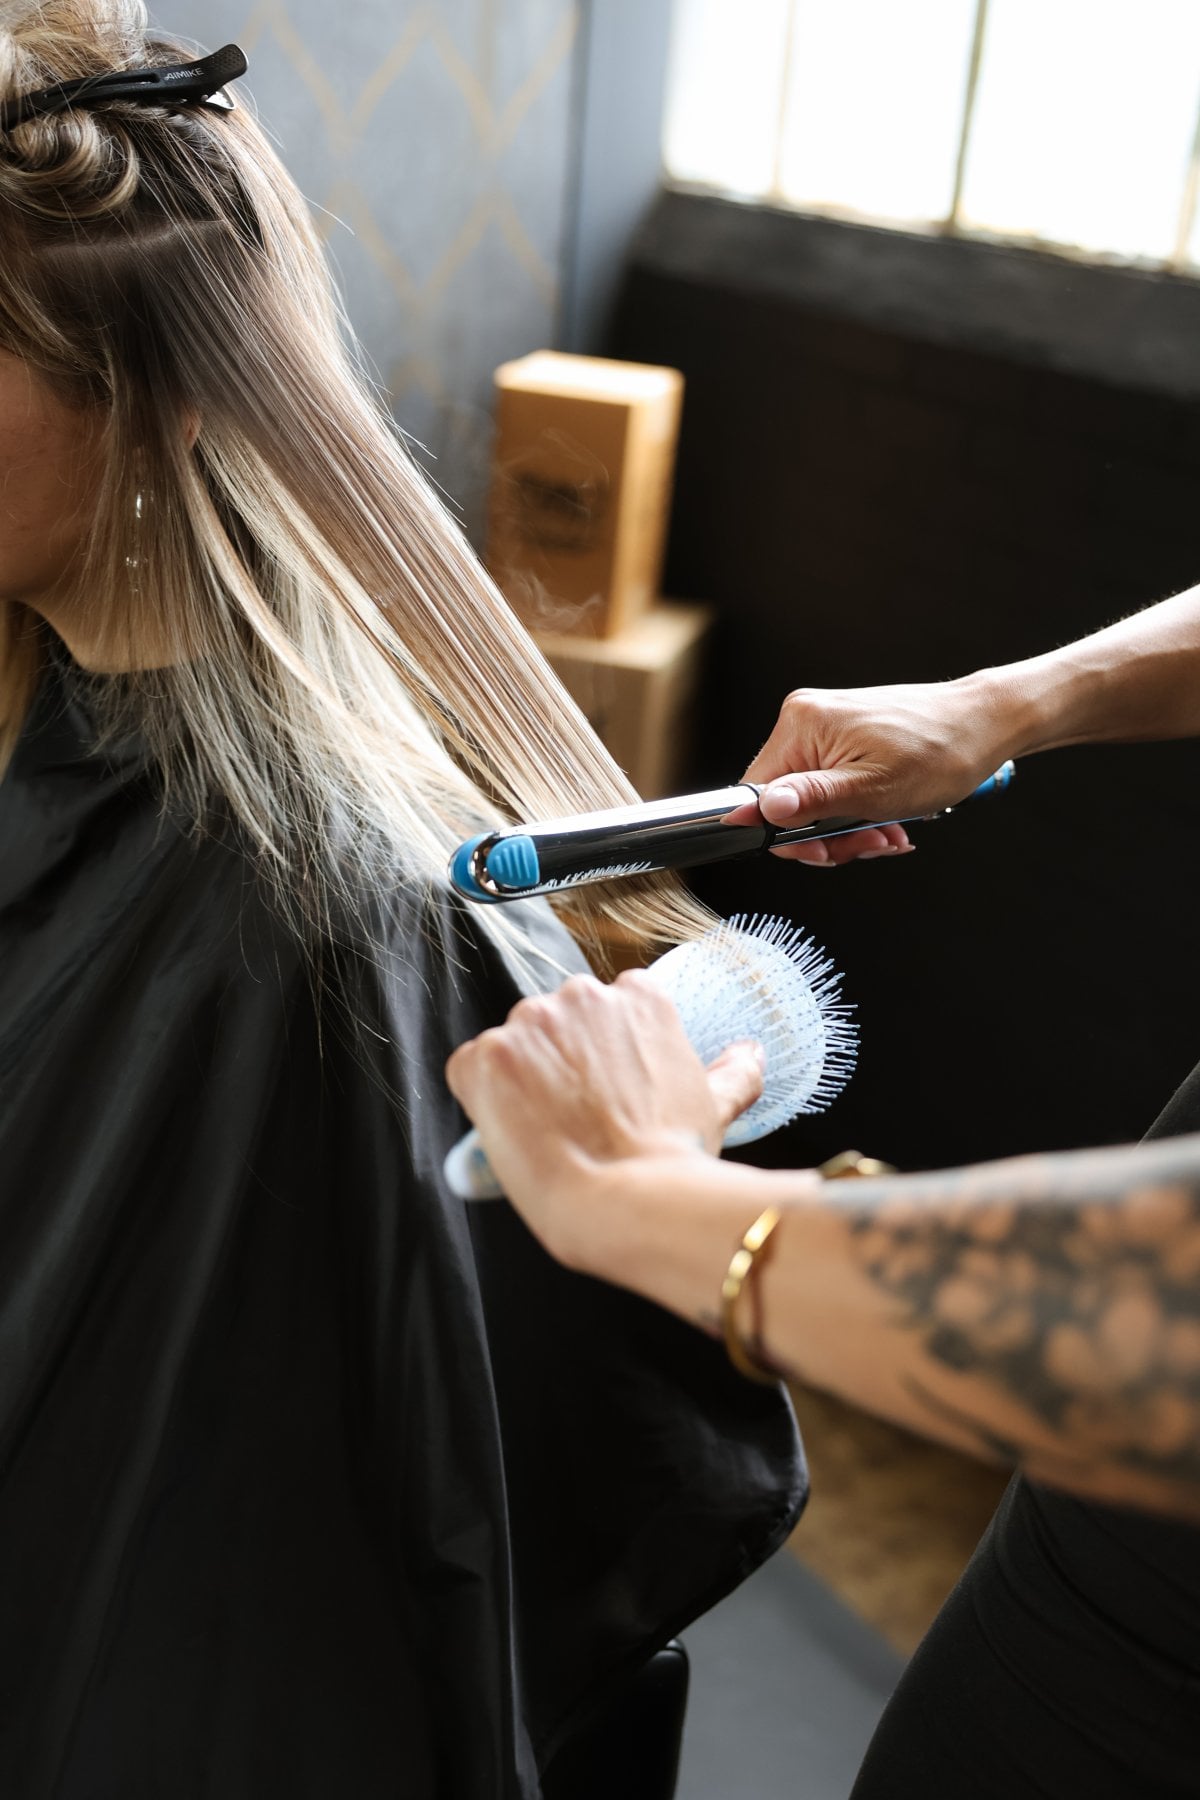
2. Flat iron the hair smooth
With a BaBylissPRO Flat Iron, straighten the hair for a smooth and even cutting surface.
THE FRINGE
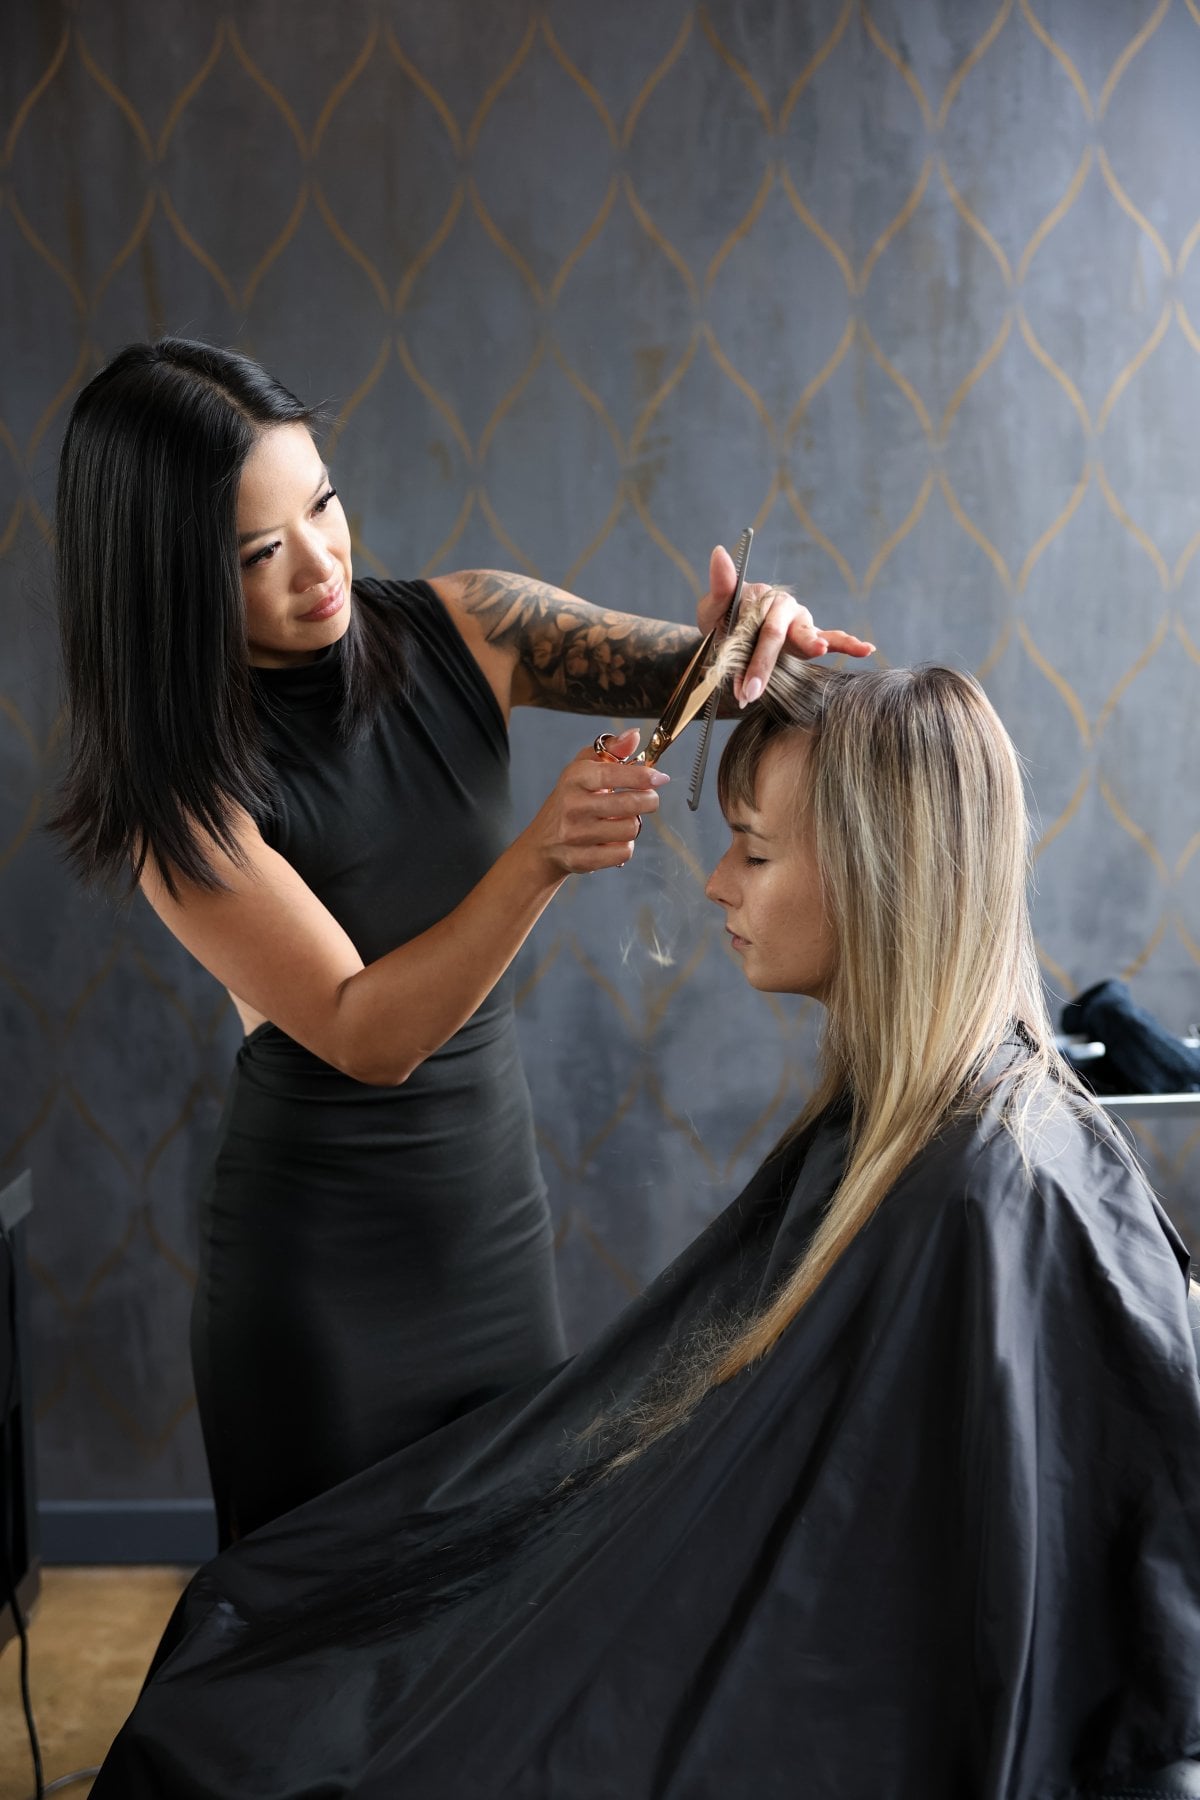
3. Section and soften
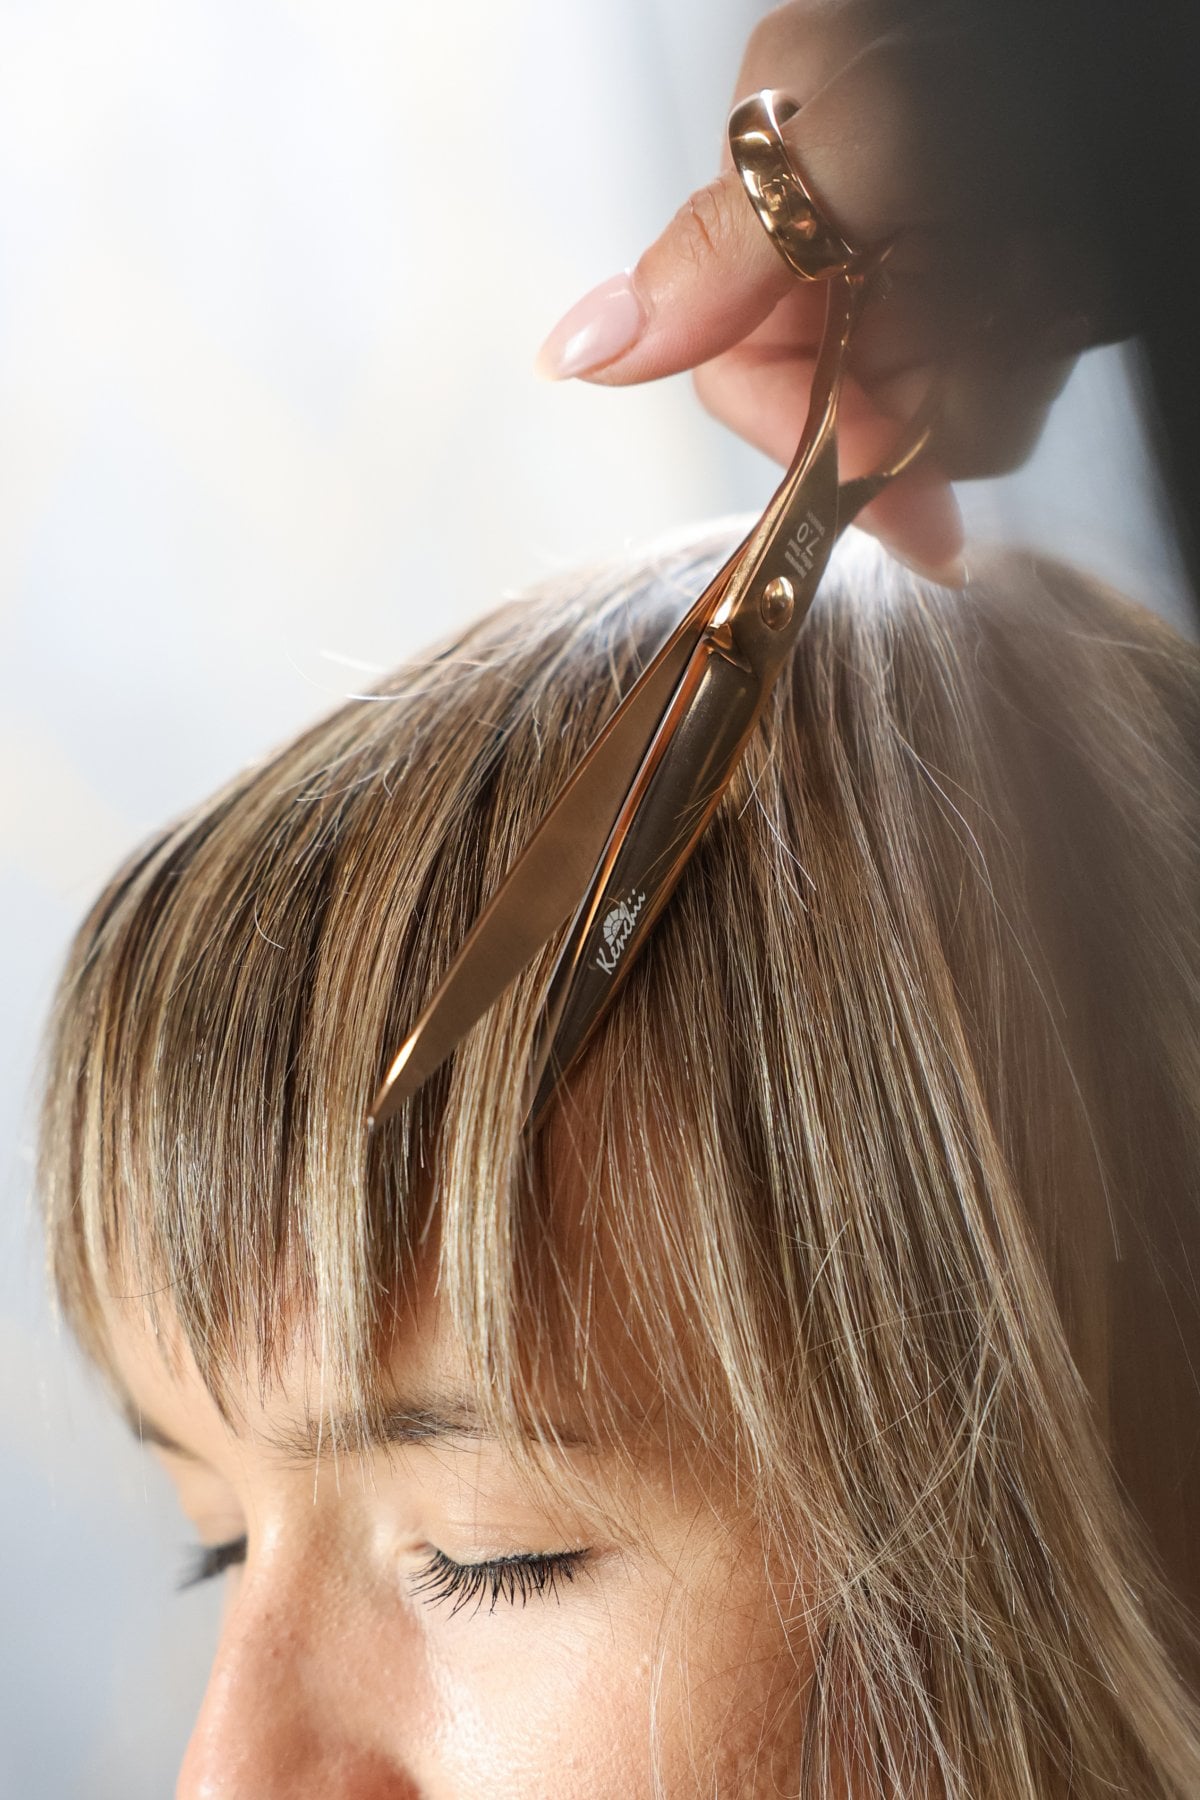
Take vertical, triangular sections in the fringe area. Slide-cut by pivoting from one side to the other to soften the perimeter.
4. Cut the center guide
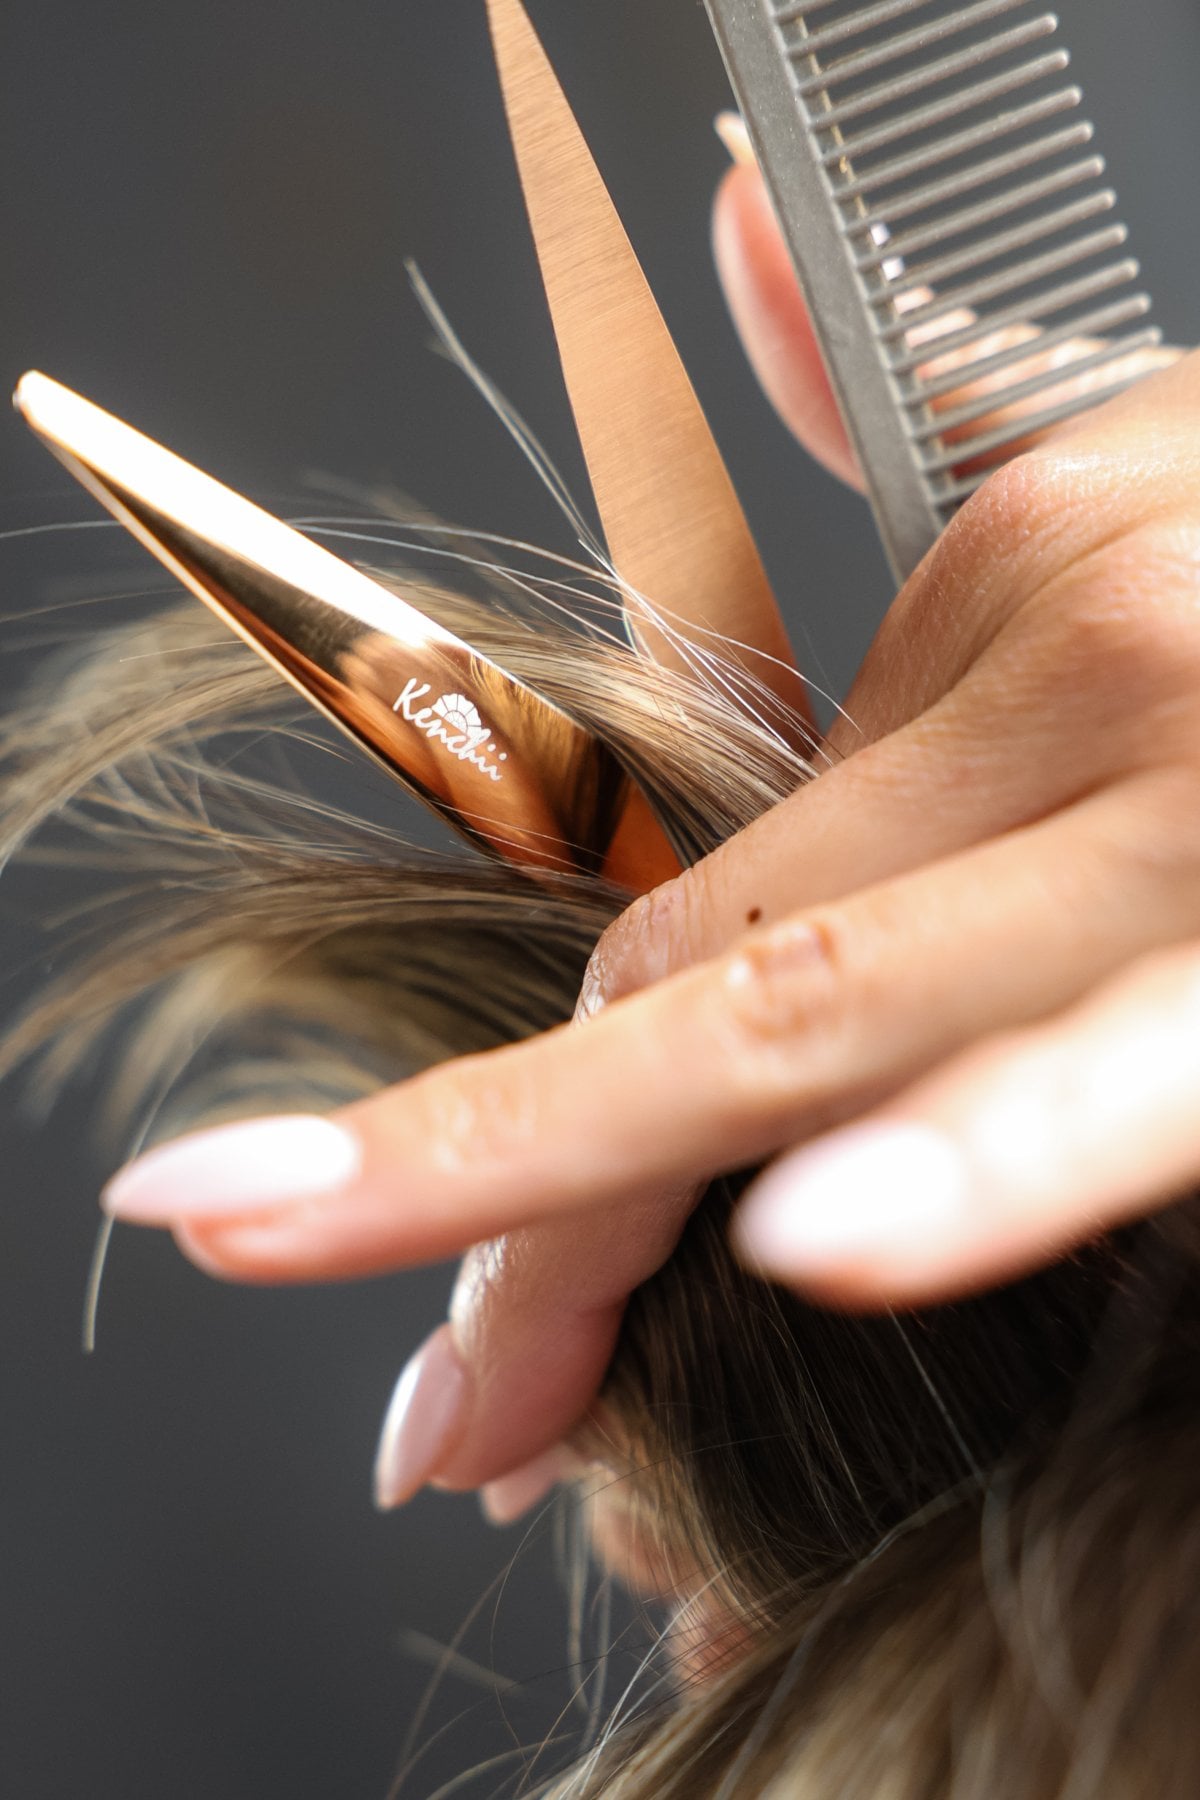
Take a center section at the crown and cut your first guide. Overdirect the horizontal sections toward the center to create a shark-fin shape. Slide cut outward until you’re about one inch from the ear.
5. Remove weight, check & texturize
Take vertical sections, elevate them to the top of the head and cut to remove excess weight. Repeat on the other side.
Then, comb all the hair forward. Check shape, texture and blend. Texturize at zero degrees (shears parallel to the hair), making sure every line of the fringe finishes in a point.
THE BACK
Pro Tip: Run the flat iron through the hair about halfway through the cut. The smoother surface shows you more clearly what still needs to be cut.6. Cut the center back section
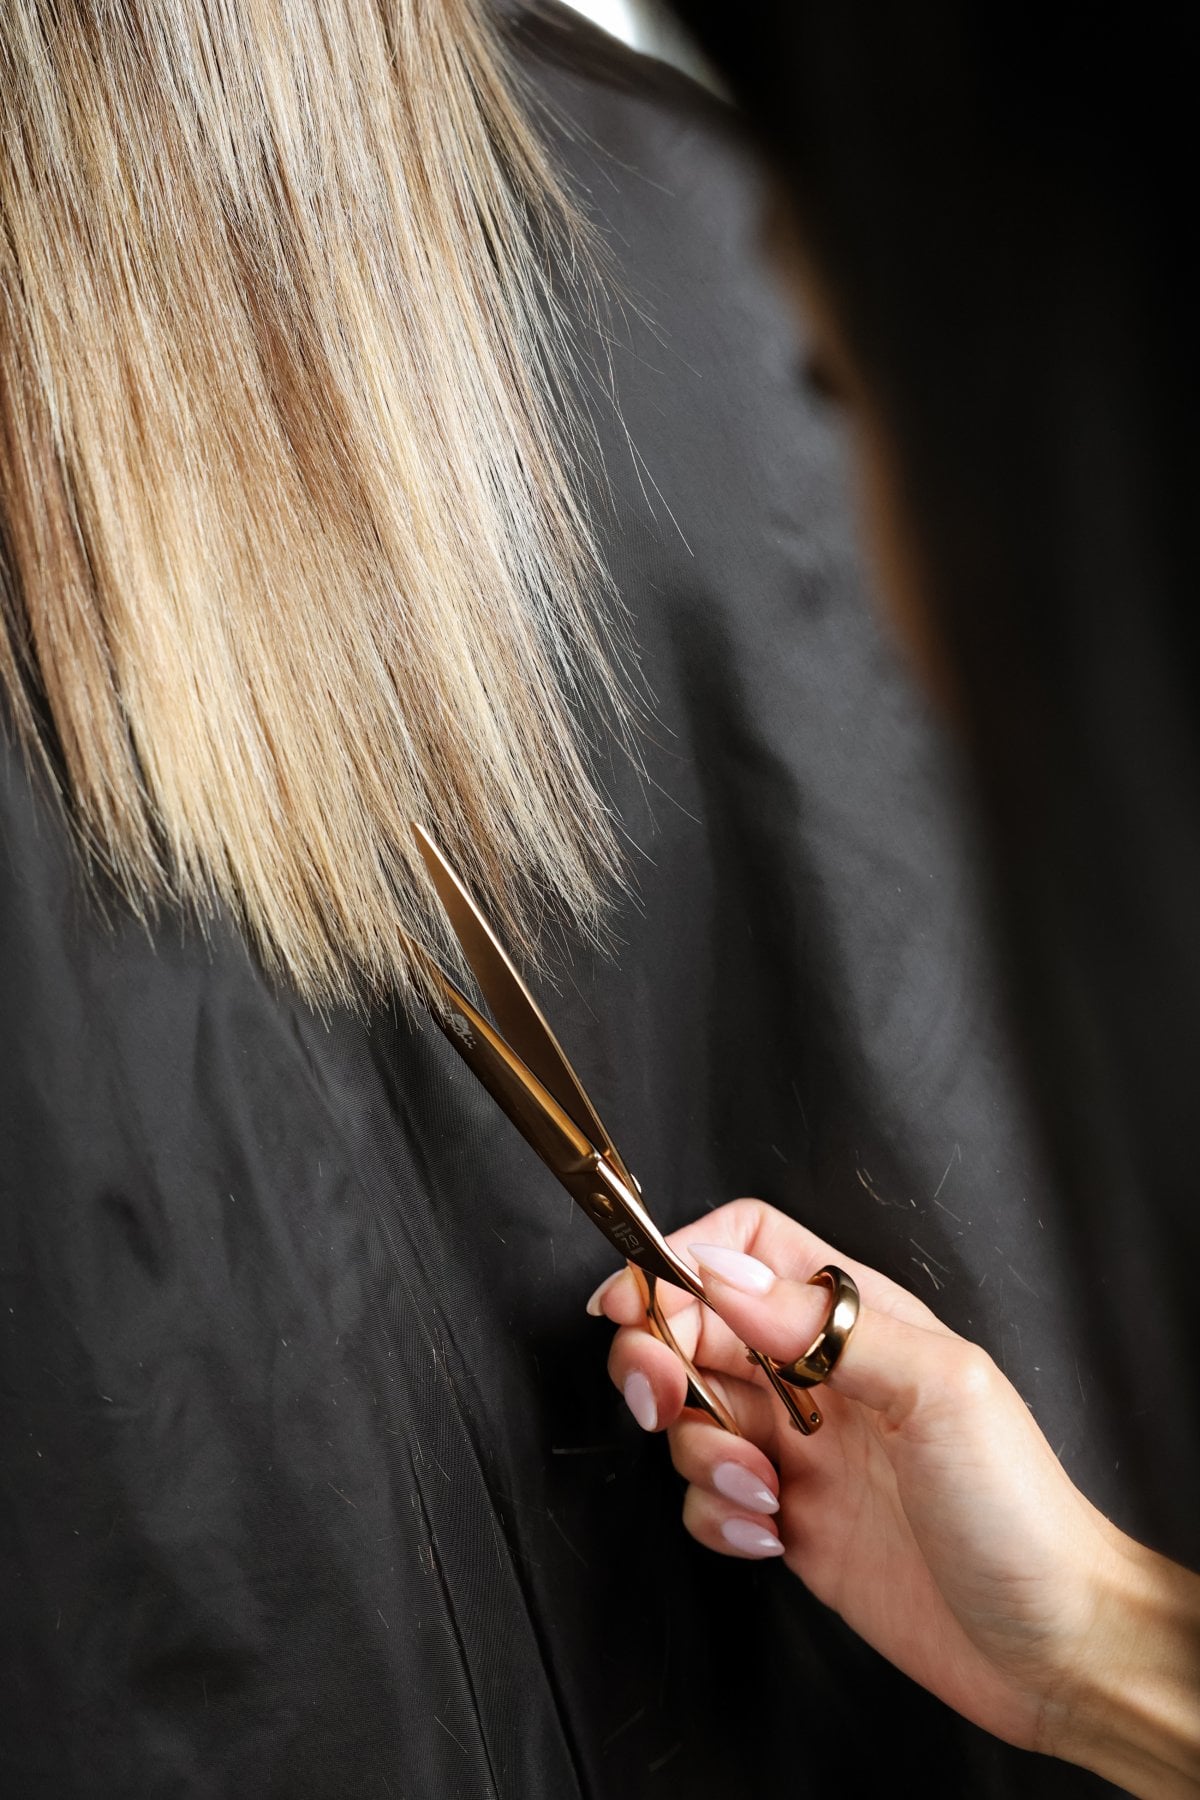
Take a vertical center section from the crown to the nape. Lift it, find your guide (where you left off on top of the head) and cut to it for a sharp, clean line.
7. Work side to side
Travel across the back and pivot around the crown to your pre-existing guides.
8. Check length and add texture
Have your client stand up to check the length. Starting at the back, point-cut to add texture.
Pro Tip: If you go back to refine, work only in the valleys (notches) you’ve already cut - don’t create new ones.
THE FRONT
9. Check evenness at eye level
Stand at eye level with your client to confirm both sides are even, then point-cut to finish.
STYLE
10. Texturize with sea salt spray
Apply Sea Salt Spray to wet hair and scrunch. Make sure to add product through the ends, since the tips of the layers need to be visible for a shag to read properly.
11. Diffuse to finish
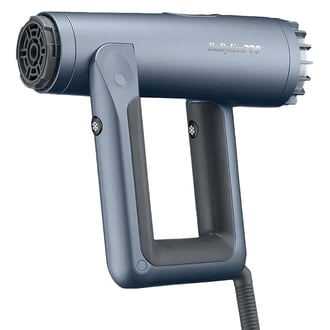
Dry with the BaBylissPRO AirSquared diffuser attachment, scrunching as you go.
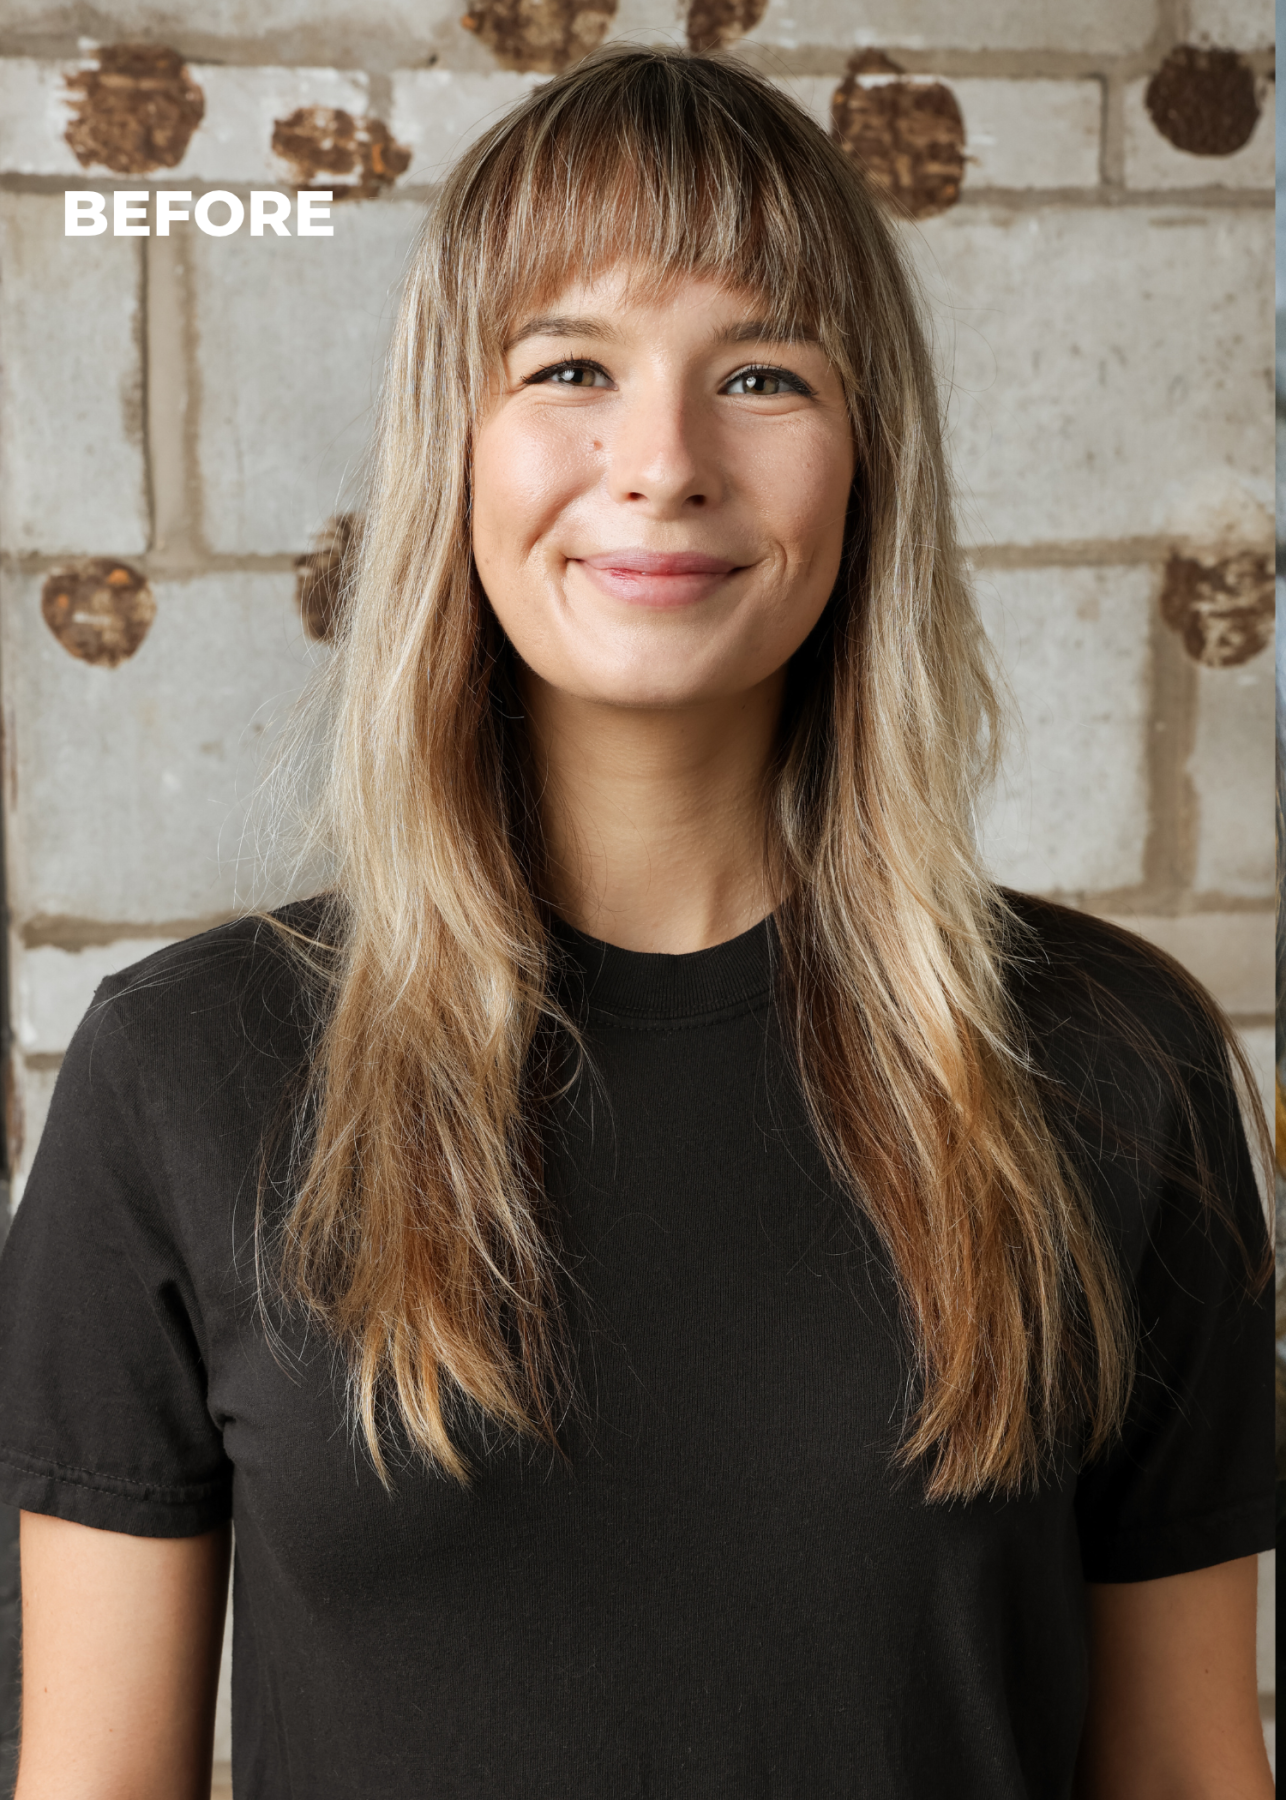
Great tools are the foundation of a great cut. Shop BaBylissPRO at marlobeauty.com!
PRO SHAG CUT QUESTIONS, ANSWERED
What is a shag haircut?
A shag is a layered cut with heavy texture, a rounded crown and visible, piecey ends, usually paired with curtain-style or wispy bangs.
Why cut a shag dry?
Dry cutting lets you see how the hair falls, shrinks and moves in real time, which is critical for the lived-in texture a shag depends on.
How often should clients get a shag trimmed?
Every 6 to 8 weeks keeps the layers and bangs looking intentional. Clients who want to grow out the length can stretch to 10 to 12 weeks if the bangs are maintained in between.
What is the BaBylissPRO AirSquare?
The BaBylissPRO AirSquare is a professional hair dryer that pairs fast drying power with a square, ergonomic design for comfort and control. The dryer works with a diffuser attachment, which is the tool used in this shag tutorial to scrunch in texture while drying so the tips of the layers stay visible.
| SHOP: | www.marlobeauty.com |
| SHARE: |
|