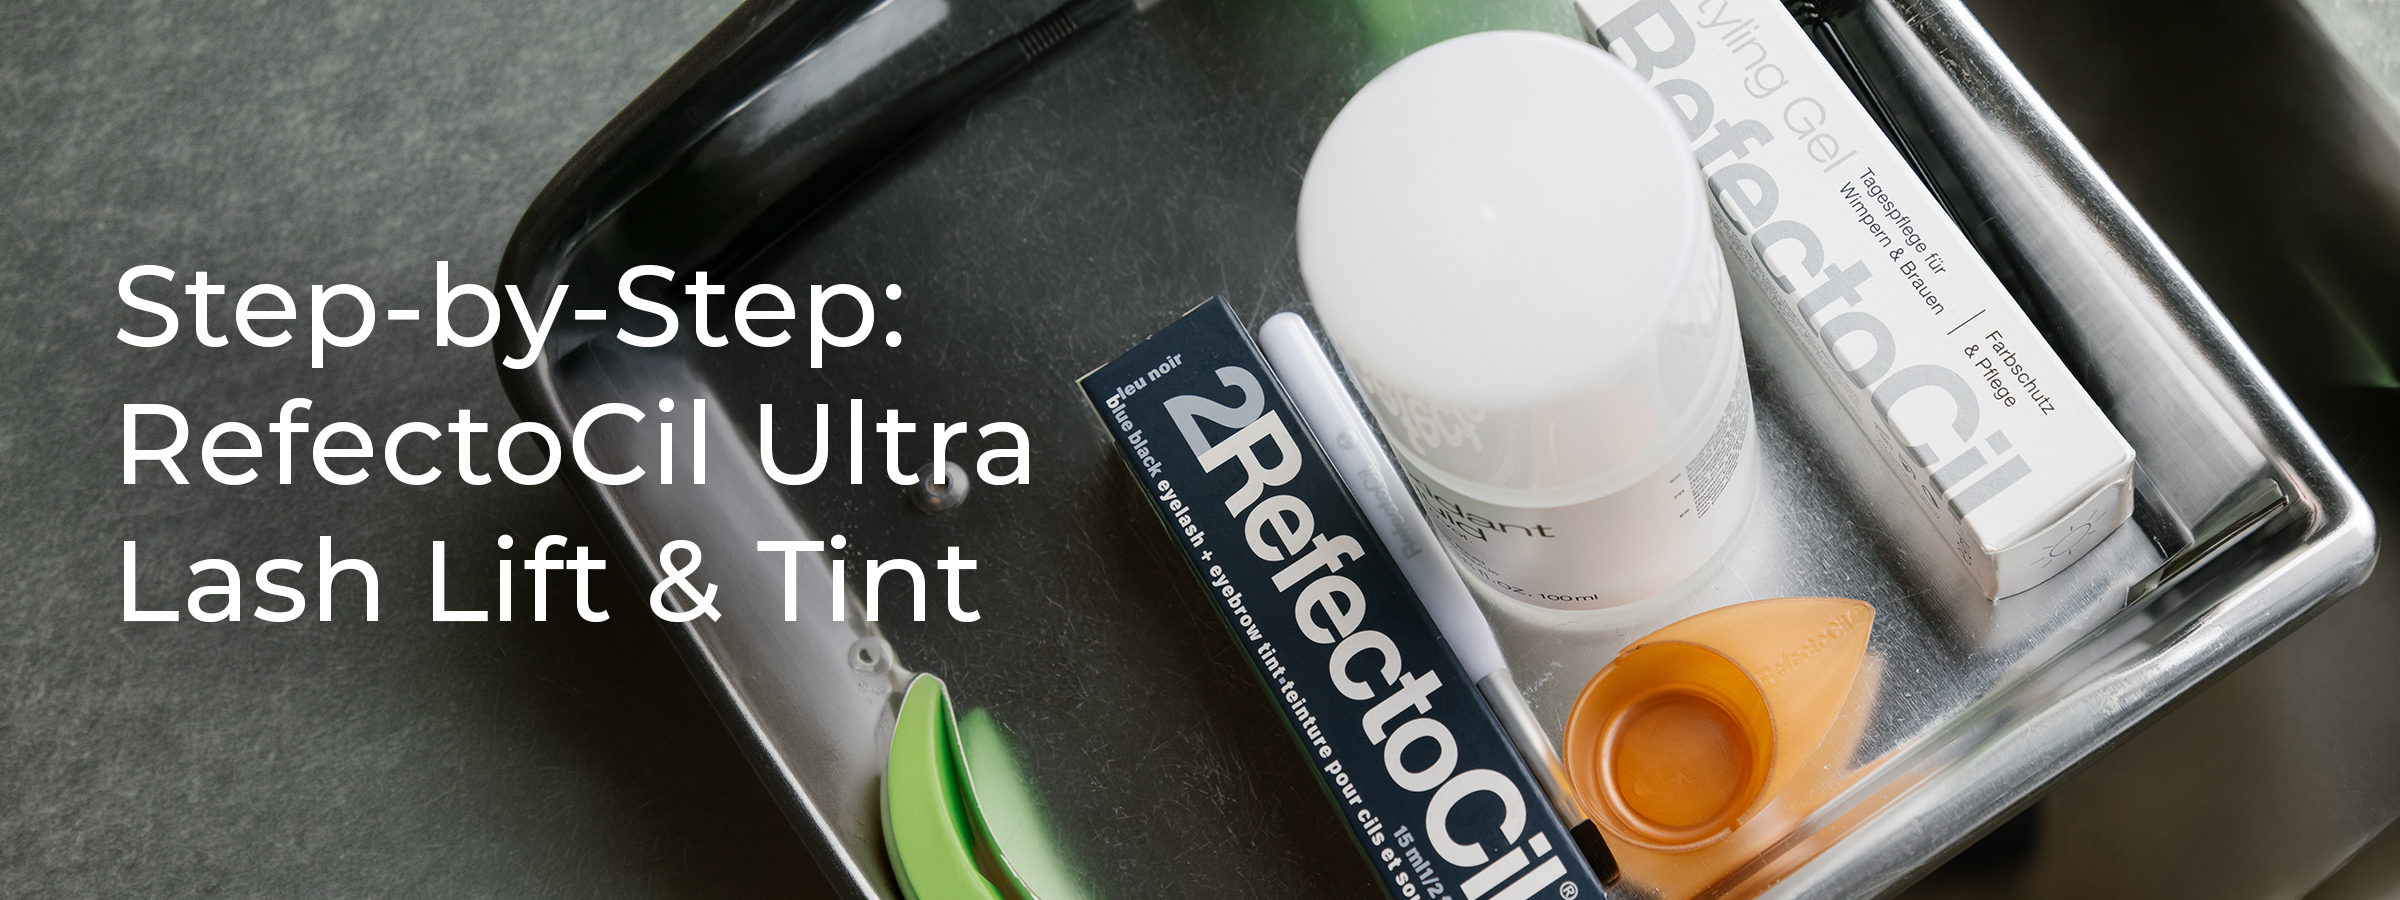
Step-by-Step: RefectoCil Ultra Lash Lift & Tintfeaturing RefectoCil
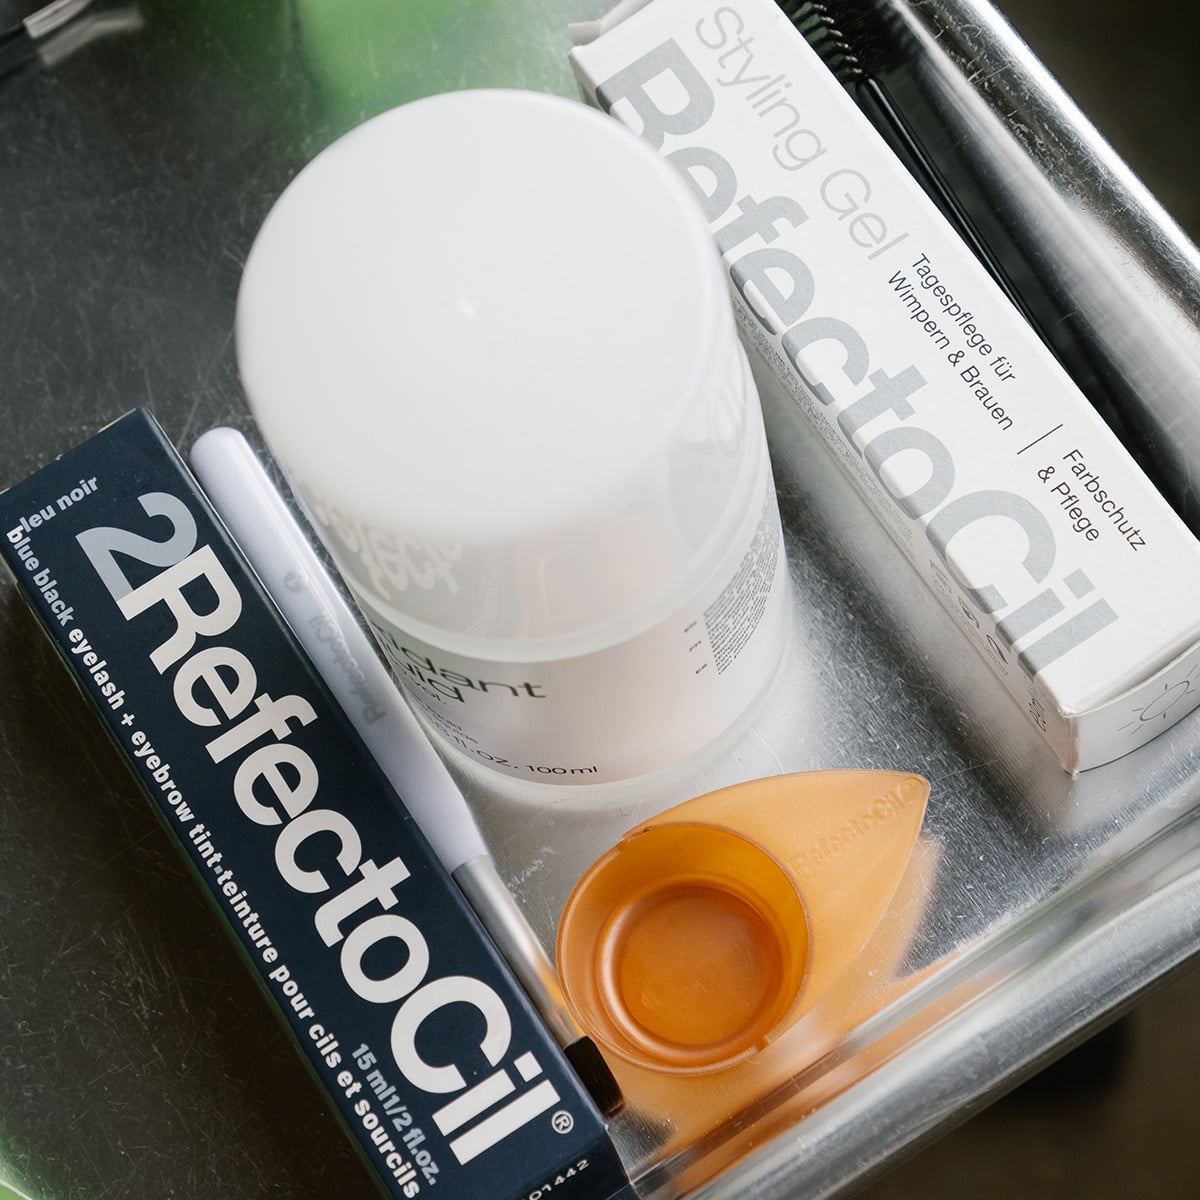
Are your clients looking for low-maintenance, fuller lashes without the upkeep of extensions? A lash lift and tint is the perfect alternative. Two options to get started asap? RefectoCil’s Eyelash Lift Classic Kit and Eyelash Lift Ultra Kit - the perfect ways to stay stocked and ready for every lash lift and tint appointment!
The Classic Kit creates a natural curl that opens the eyes, while the Ultra Kit delivers a more dramatic, fanned-out lash effect. Both results last up to six weeks! Follow these steps to use RefectoCil’s Eyelash Lift Ultra Kit and deliver gorgeous, lifted lashes your clients will keep coming back for!
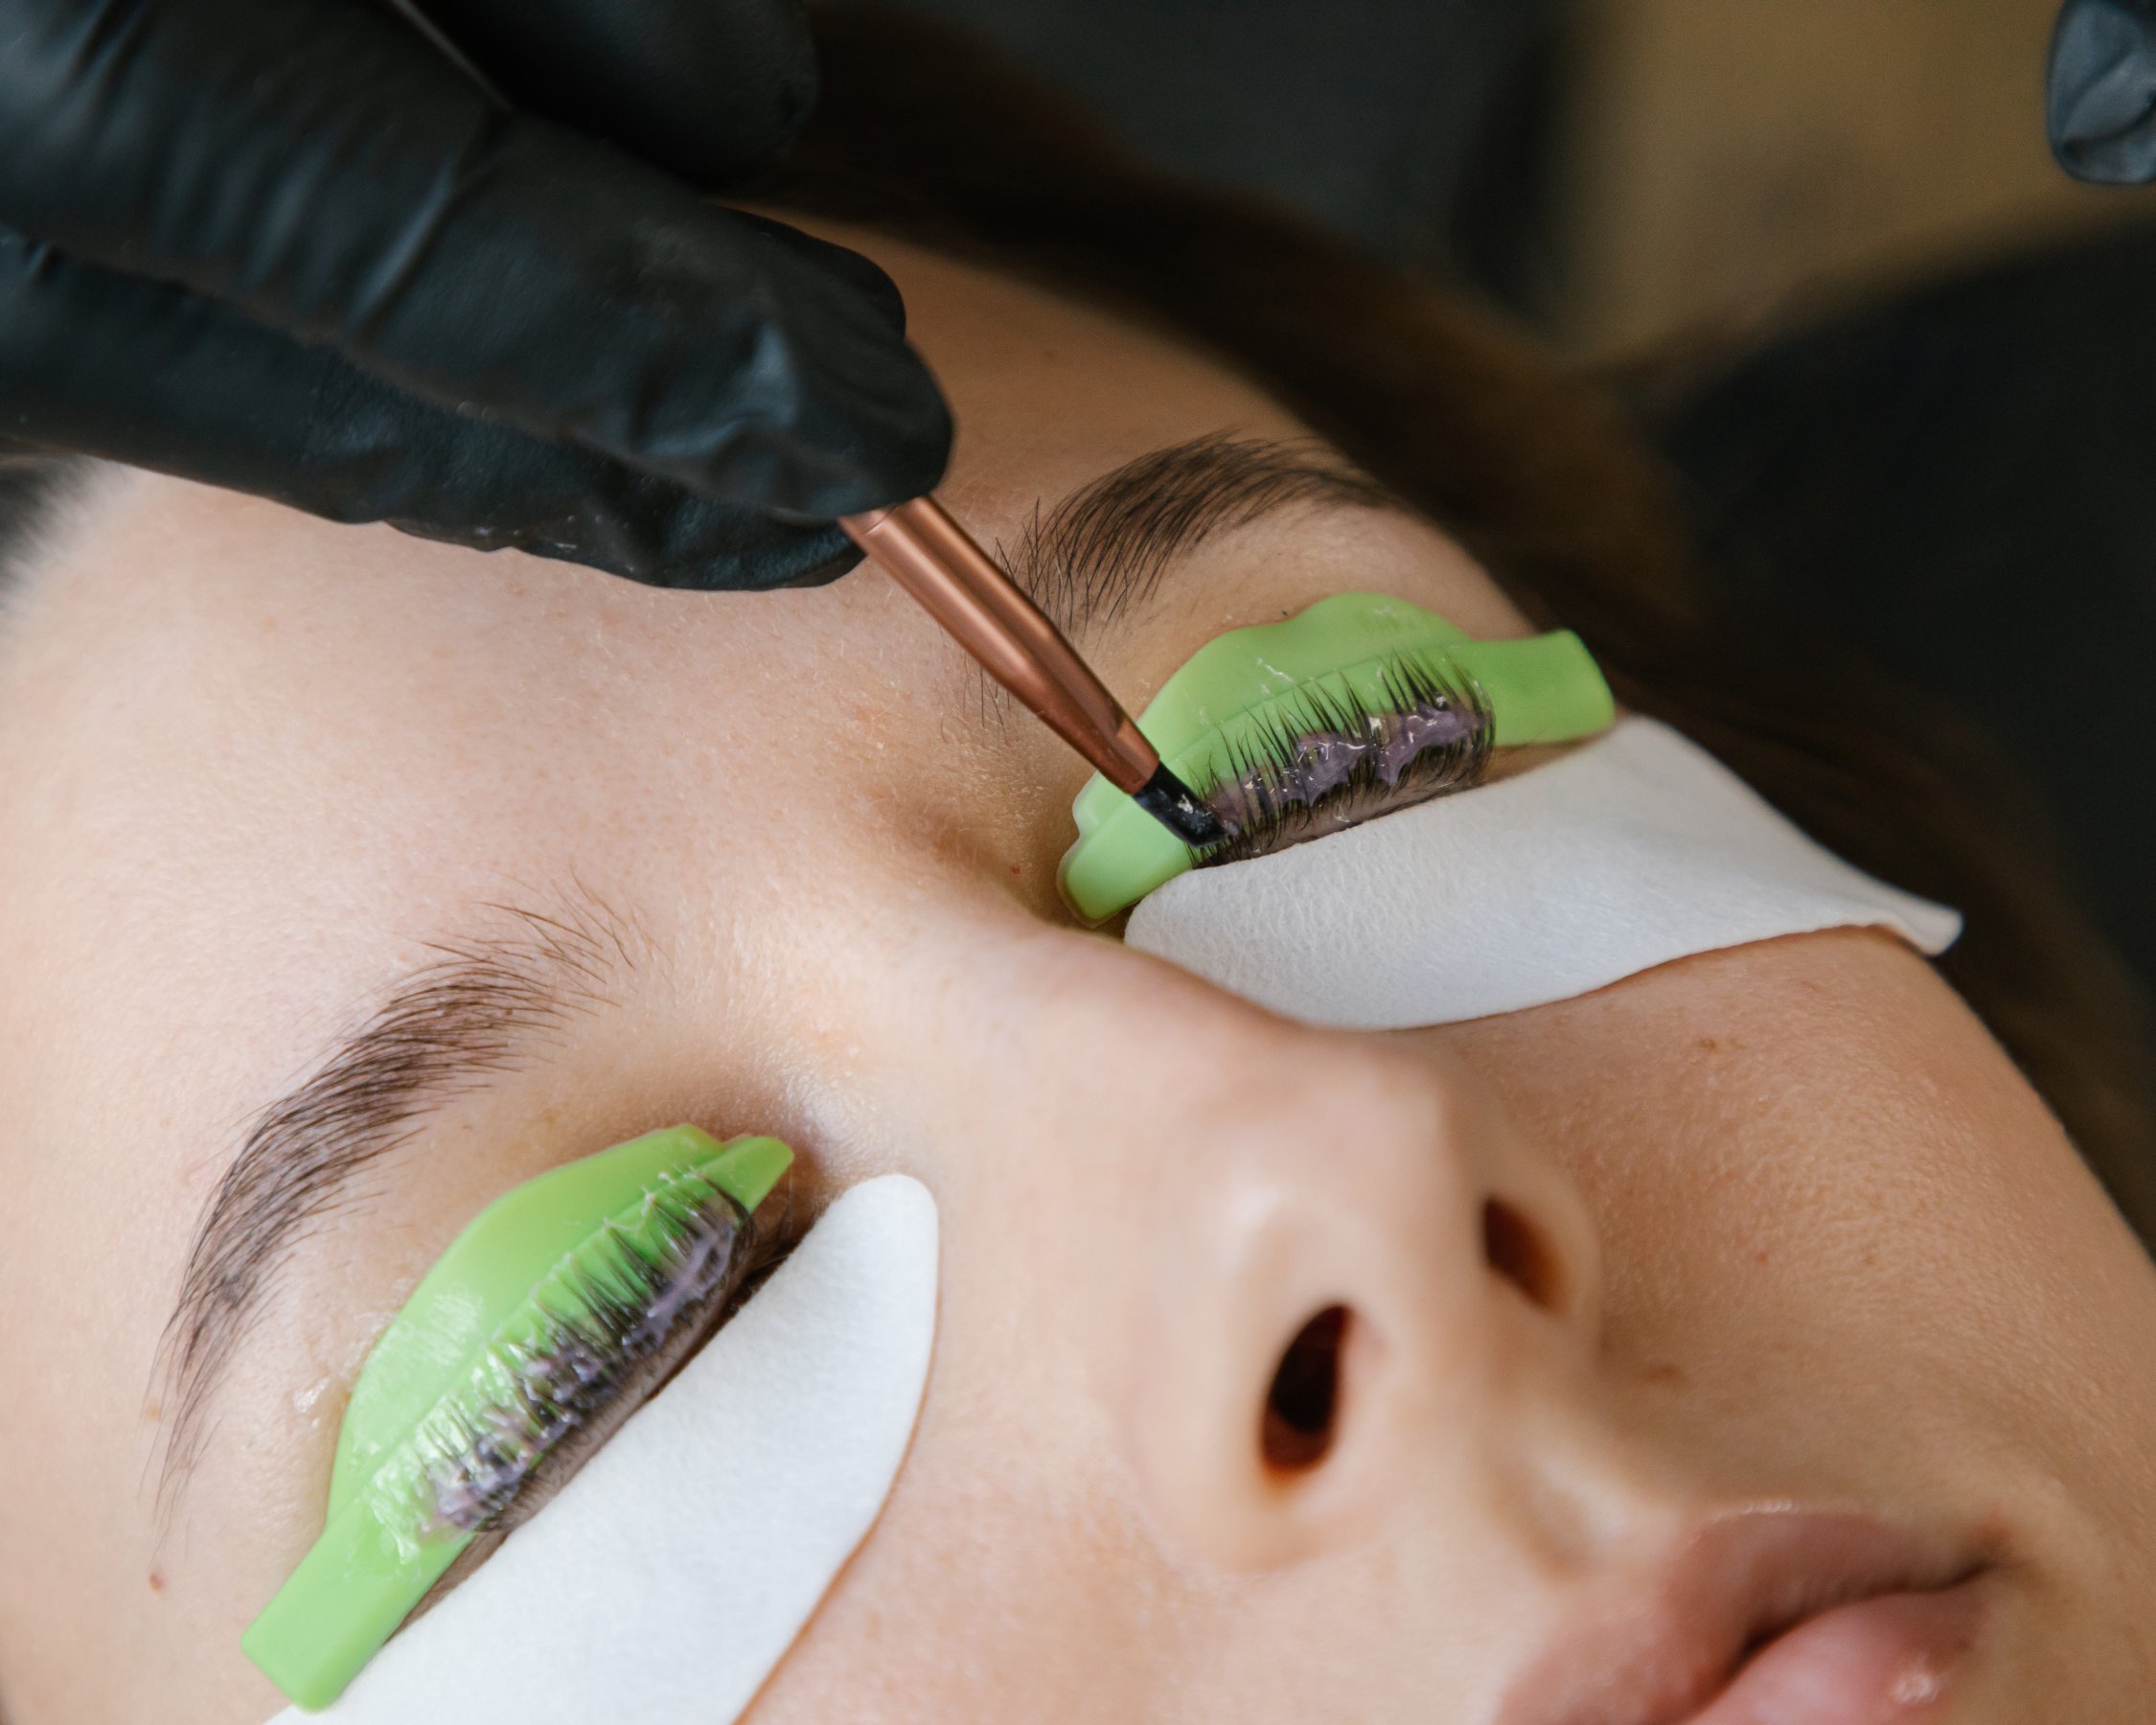
1. APPLY LASH LIFT PADS
Apply the Lash Lift Pads Ultra along the lash line, selecting the size that best fits your client’s eye shape - S, M, L or XL. Gently press the pads into place, ensuring the lashes lift evenly for a precise, long-lasting curl.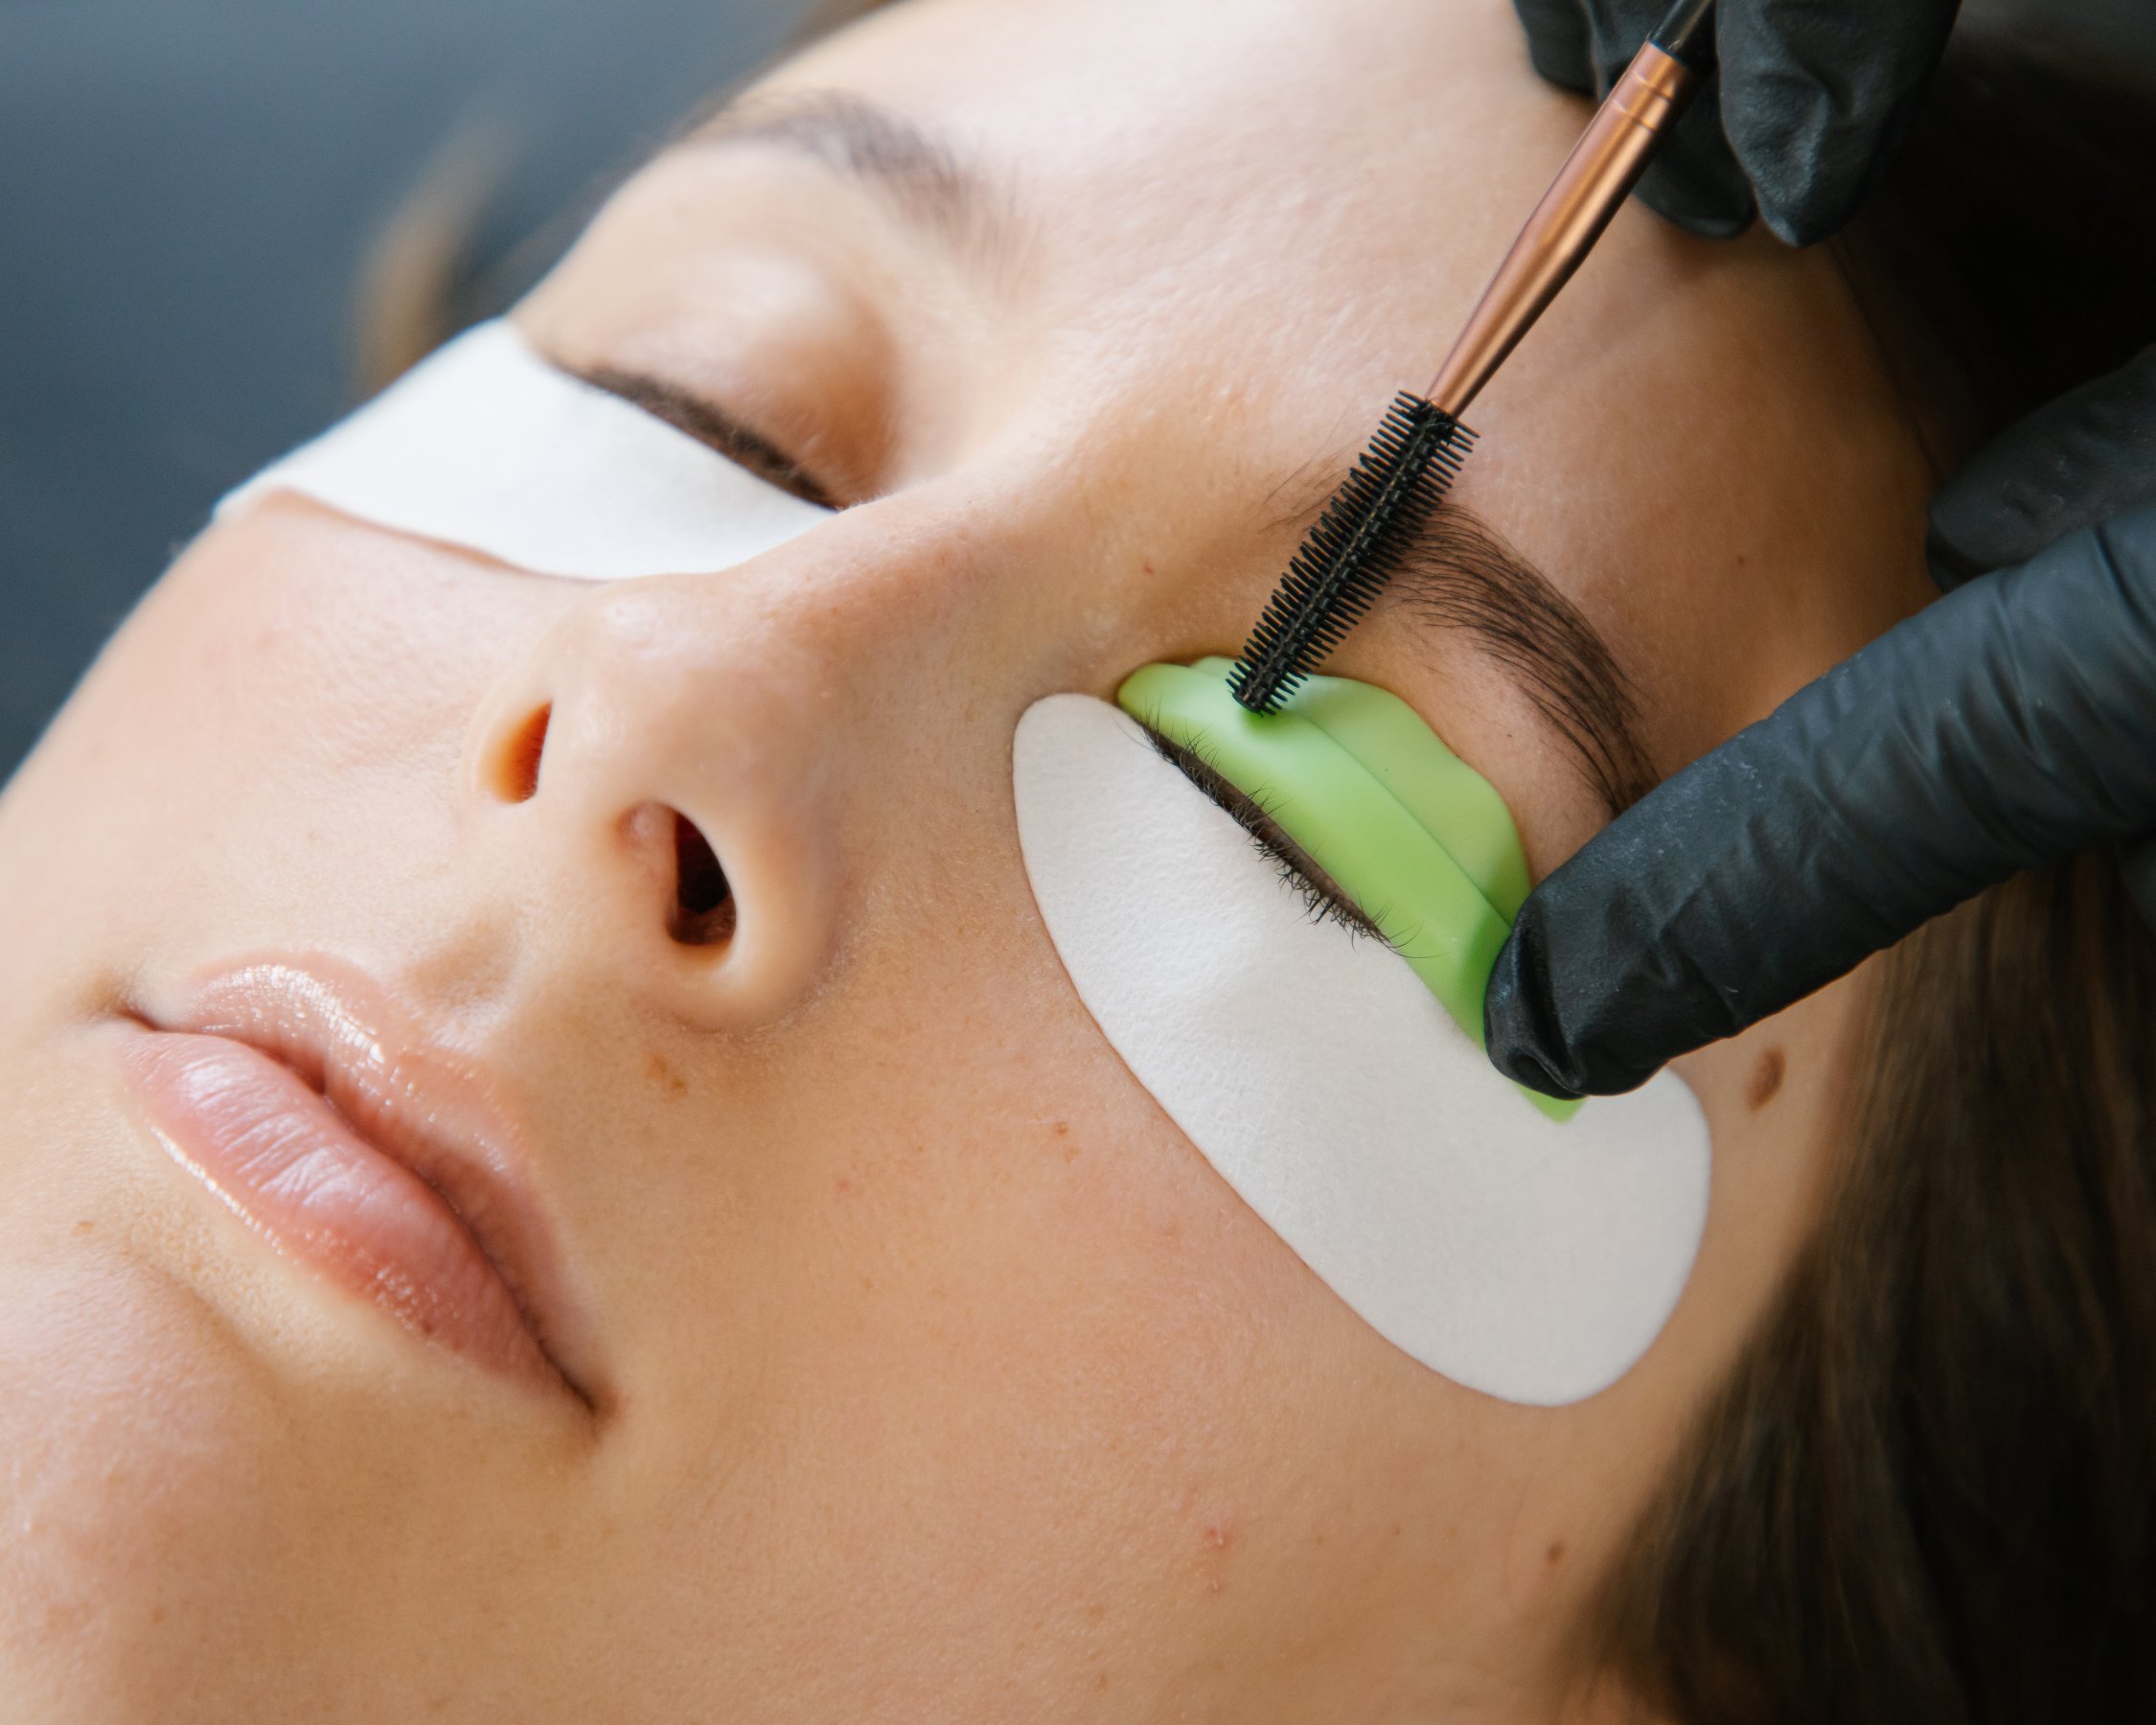
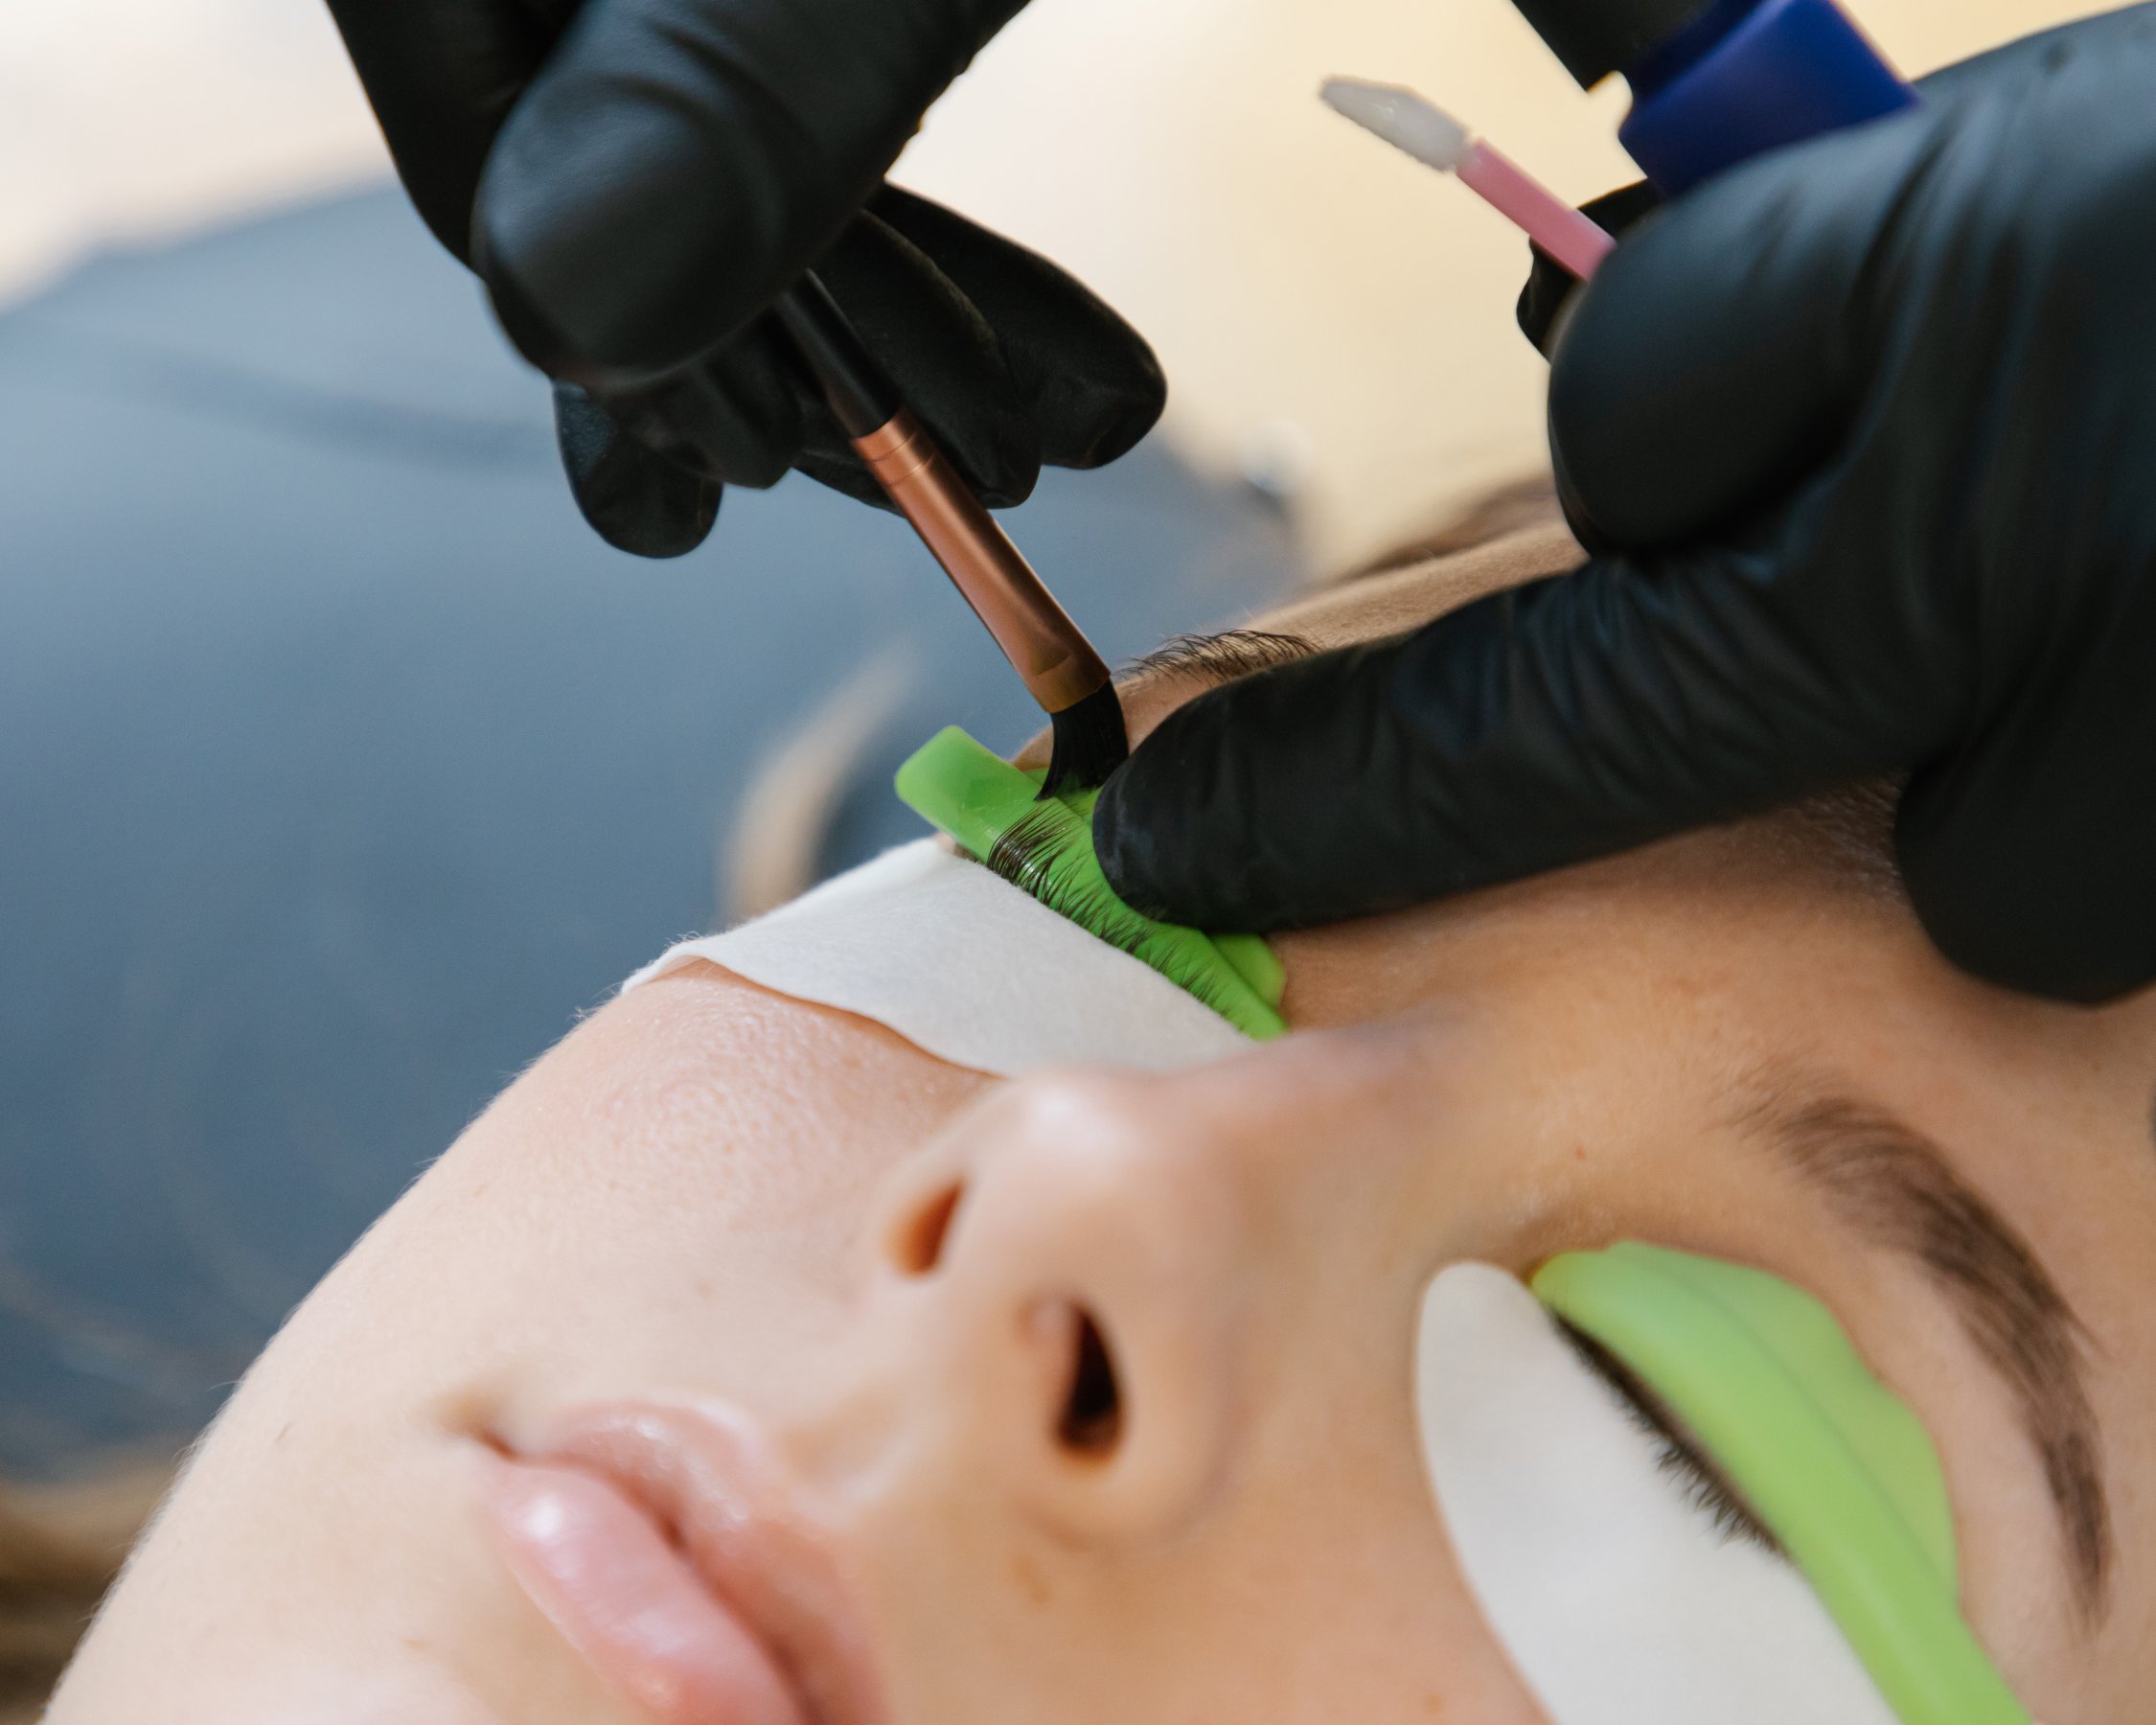
2. APPLY STYLING GLUE
Apply RefectoCil Brow & Lash Styling Glue Ultra to the lashes, then gently brush and lift them onto the lash lift pads. For the best results, work in three sections to prevent the adhesive from drying too quickly. Using the RefectoCil Eyelash Lifter, carefully separate and position each lash to create a smooth, even lift.
Pro Tip! If a section has already dried and the lashes need separating, apply a small amount of glue on top to lift and separate them.
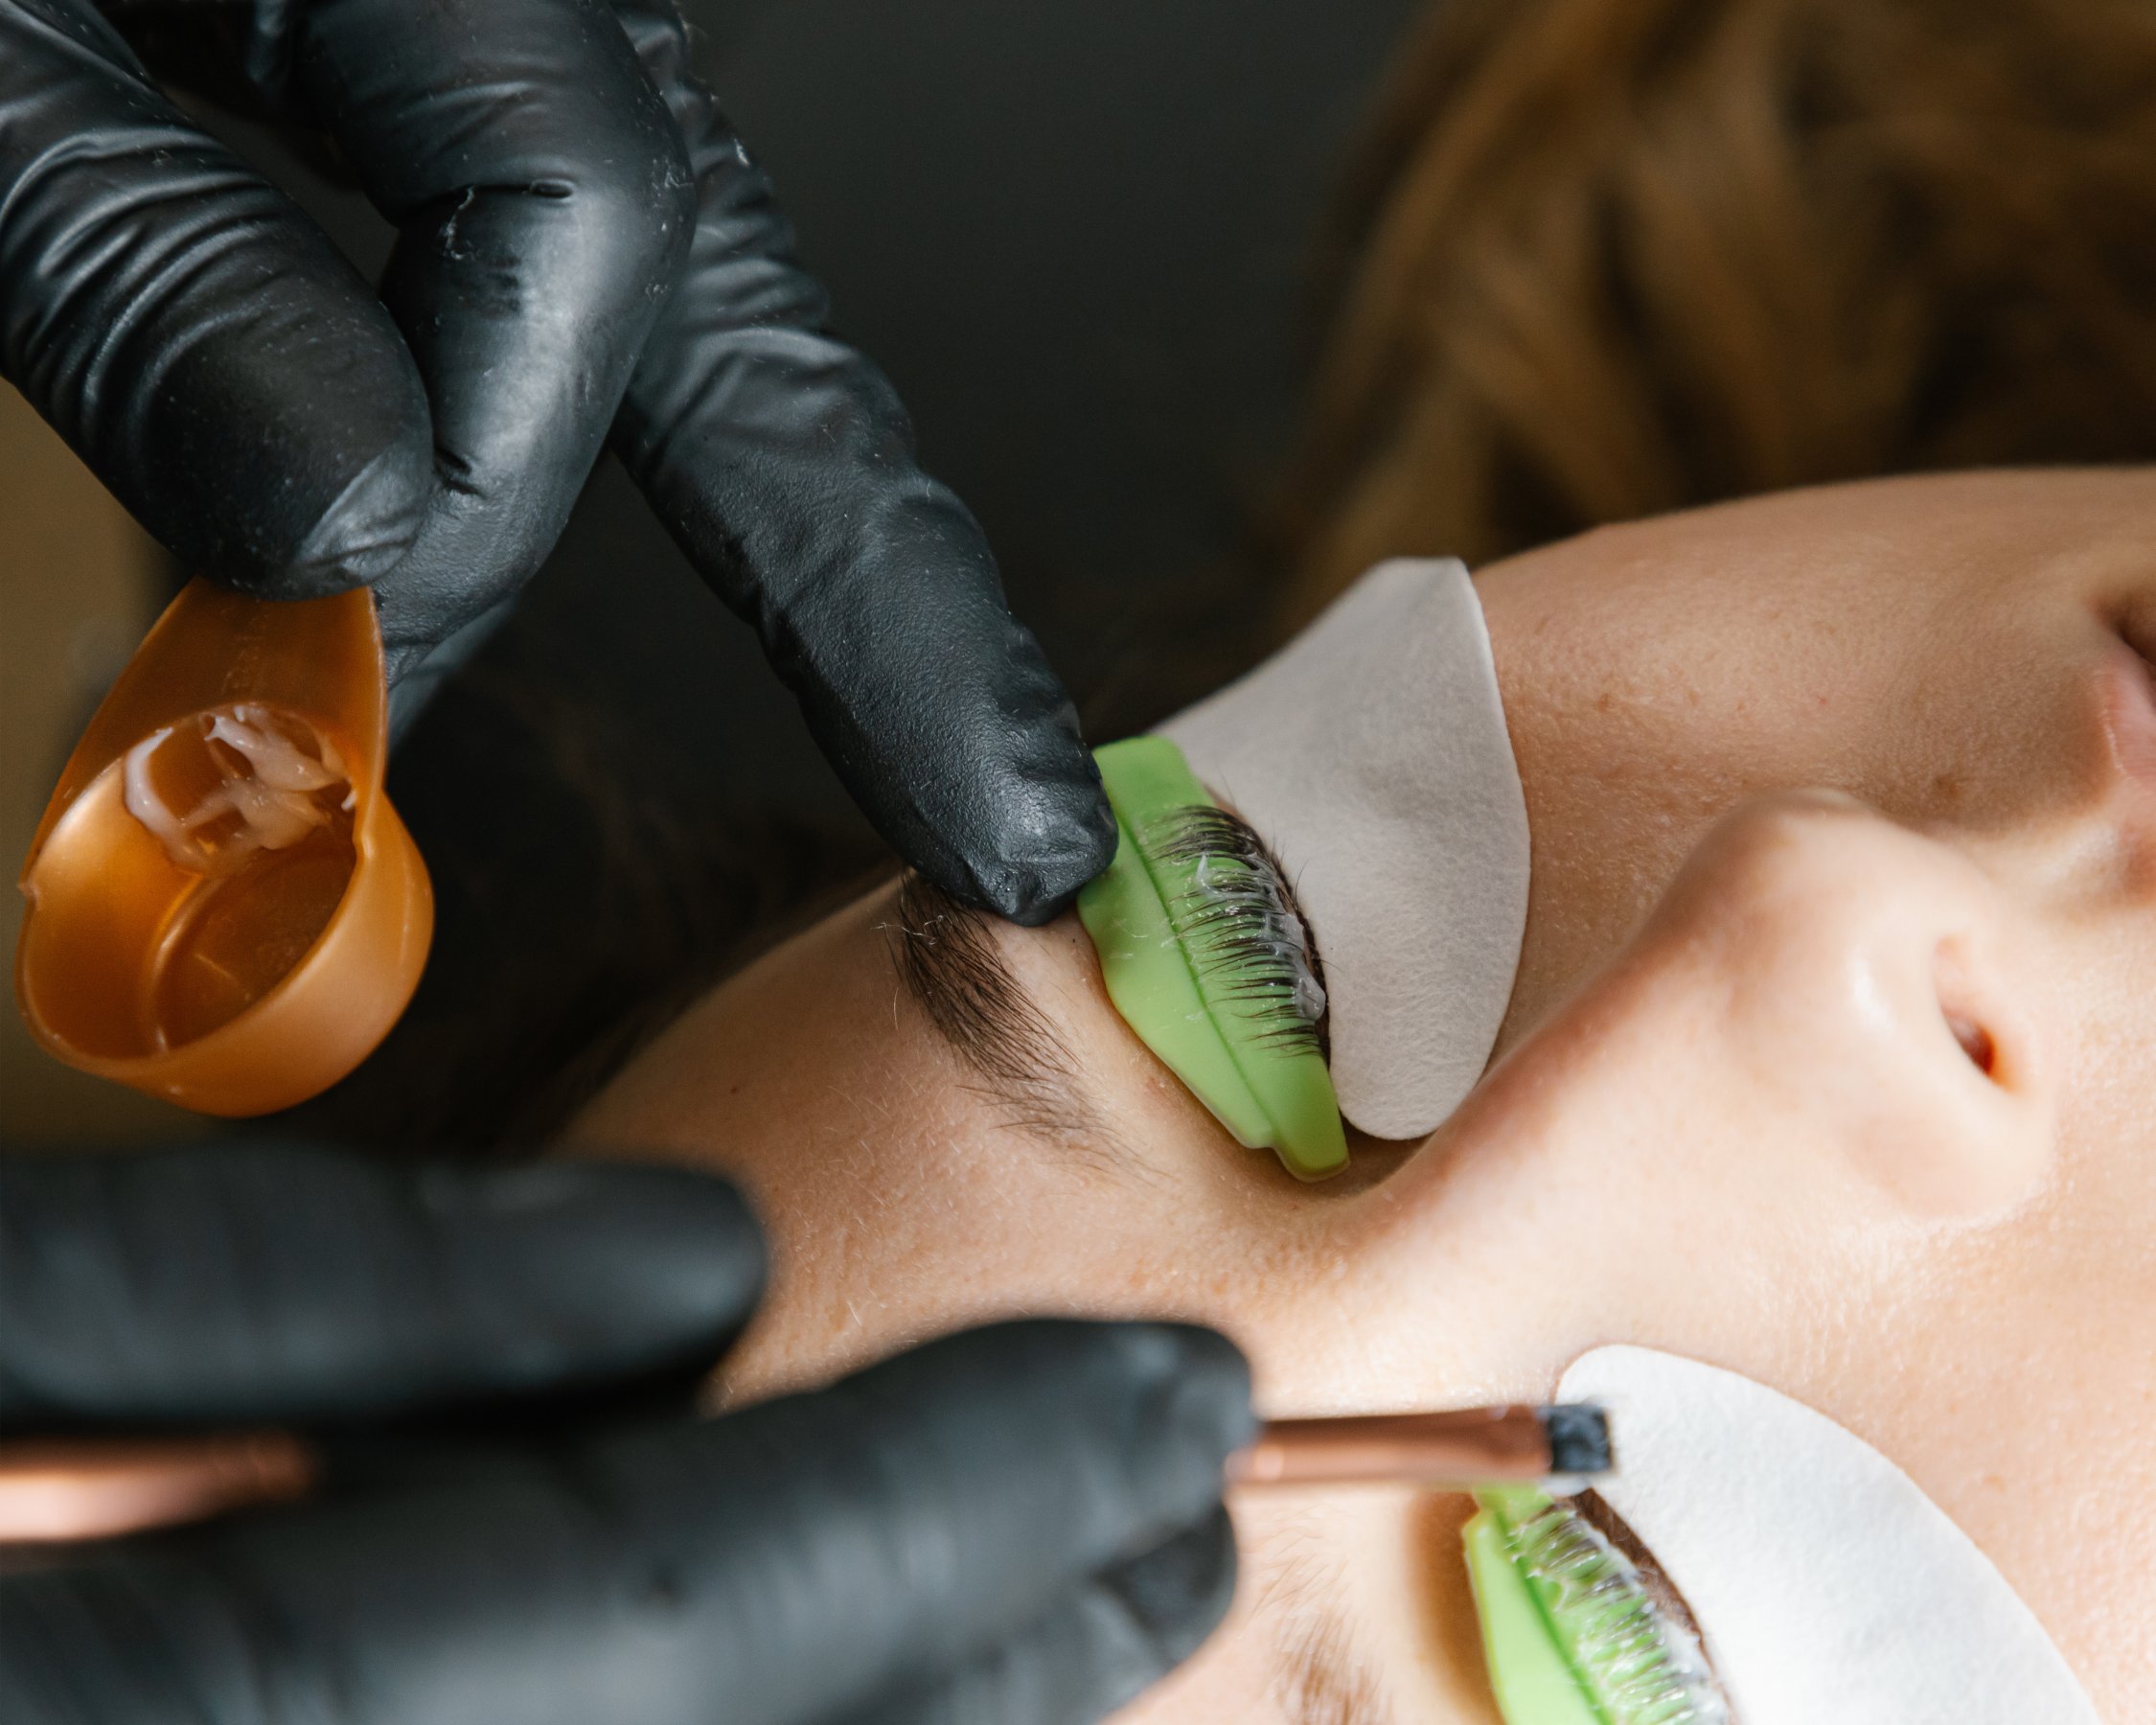
3. APPLY PERM SOLUTION
Using the RefectoCil Dual Brush, apply the Brow & Lash Perm Solution to the lashes, coating them evenly from root to tip. Process for six minutes, then gently remove with a dry cotton swab.
4. ADD NEUTRALIZER
Make sure any stubborn lashes are properly shaped onto the pad, adding a bit more glue if necessary. Clean your brush, then apply the neutralizer using a gentle tapping motion. Let it process for 4 minutes, then remove the solution with a dry cotton swab.
Pro Tip! Check the lashes from all angles to ensure no hairs are missed and every lash is perfectly positioned.
5. BRUSH ON TINT
Once the lash lift is complete, it’s time to add tint! Mix equal parts RefectoCil Eyelash & Eyebrow Cream Hair Dye with RefectoCil Cream Oxidant (or 10 drops of RefectoCil Liquid Oxidant).
Apply the tint evenly to the lashes and let it process for 2 minutes, then gently remove with a moist cotton round.
.jpg)
.jpg)
6. FINISH WITH STYLING GEL
Finish with RefectoCil Styling Gel to lock the tint and lashes in place and give a polished final look.

BEFORE & AFTER LASH LIFT & TINT
.png)
.png)
Give your clients the lifted, defined lashes they love while adding a low-maintenance, profitable service to your menu. Shop all RefectoCil at marlobeauty.com!
| SHOP: | www.marlobeauty.com |
| SHARE: |

.jpg "RefectoCil Eyelash & Eyebrow Cream Hair Dye, .5 oz")

 Developer Liquid, 3.38 oz")


