




The Guide to Brow Waxing: 5 Steps for Precise, Defined Browsfeaturing Satin Smooth


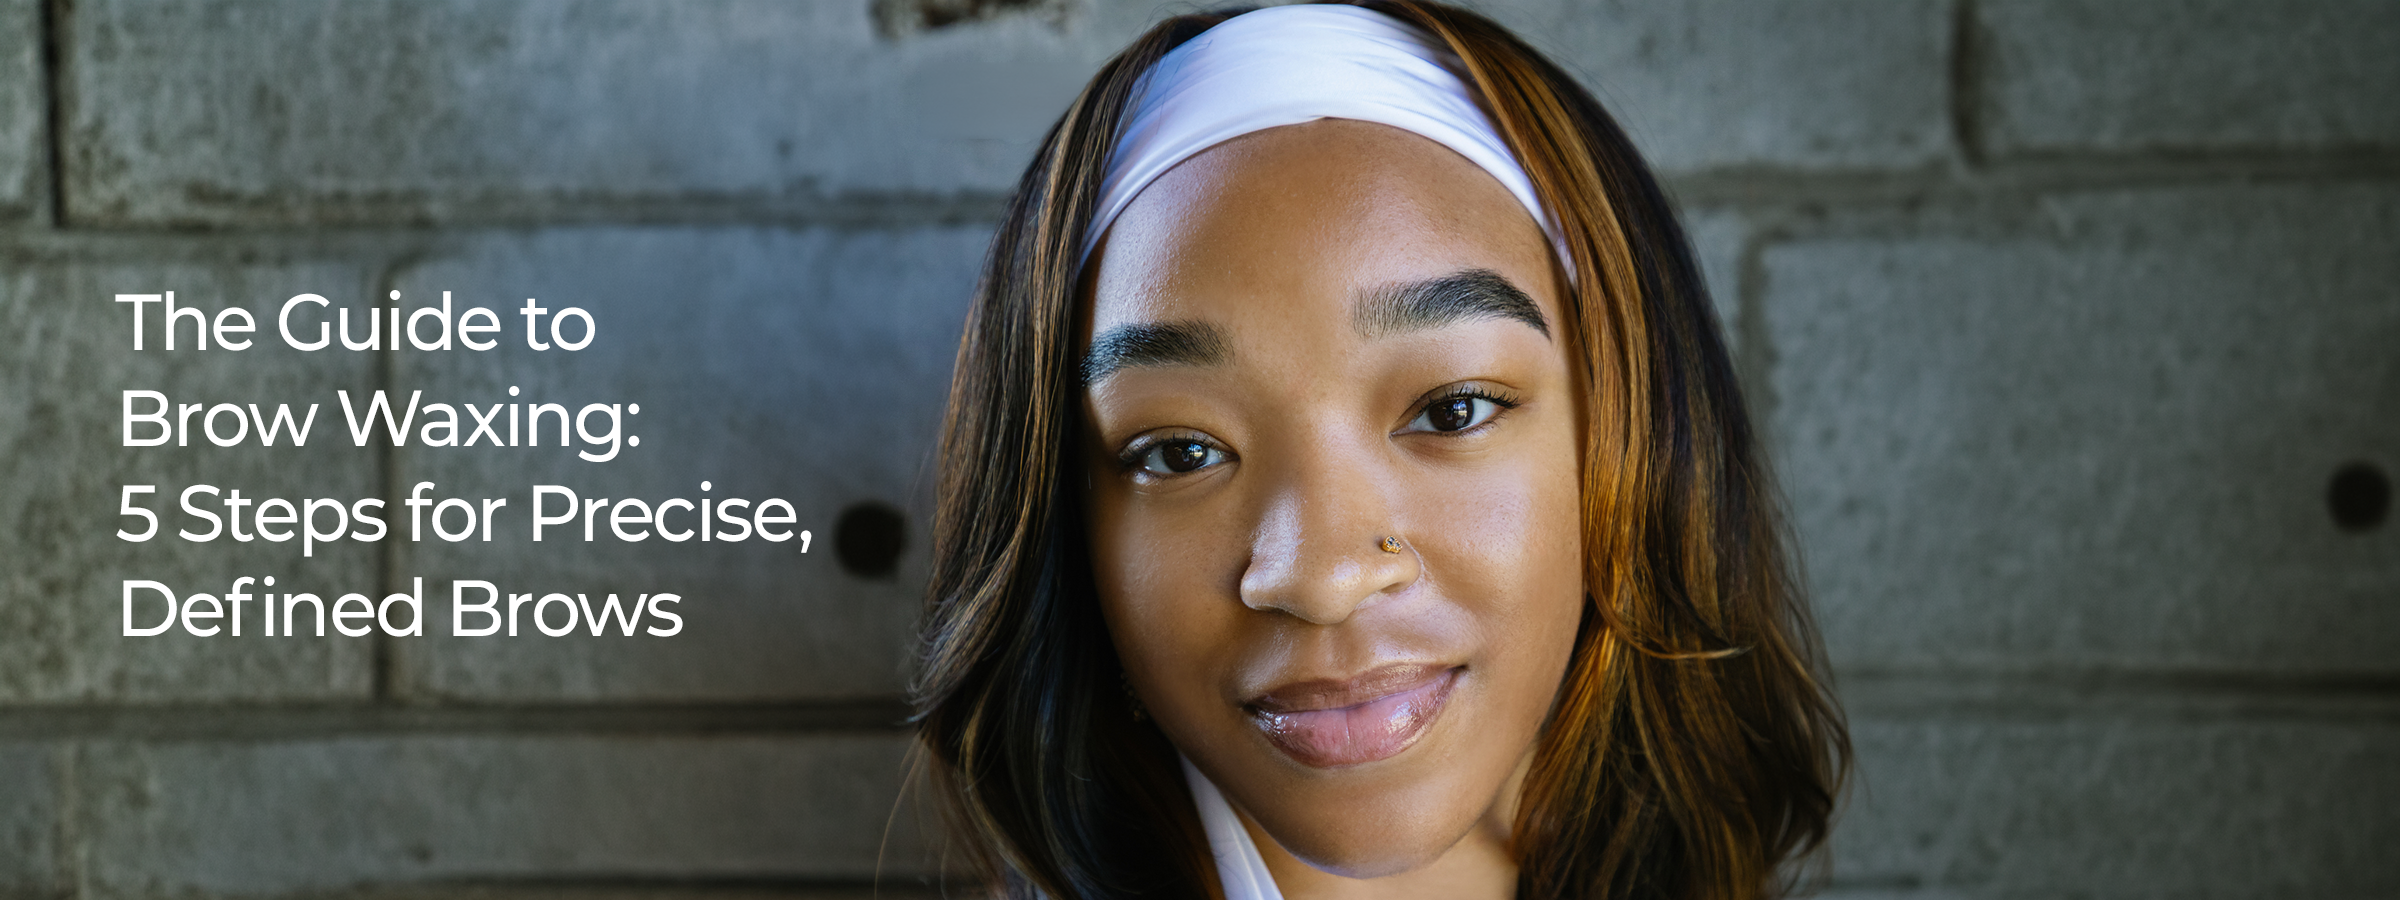
A great brow wax starts long before the wax is applied! From skin prep and brow mapping to precise hair removal and post-wax care, every step plays a role in achieving clean, defined results. With the right technique and products, you can create clean, defined brows while prioritizing skin comfort. Follow this step-by-step to refine your brow waxing services with Satin Smooth essentials!
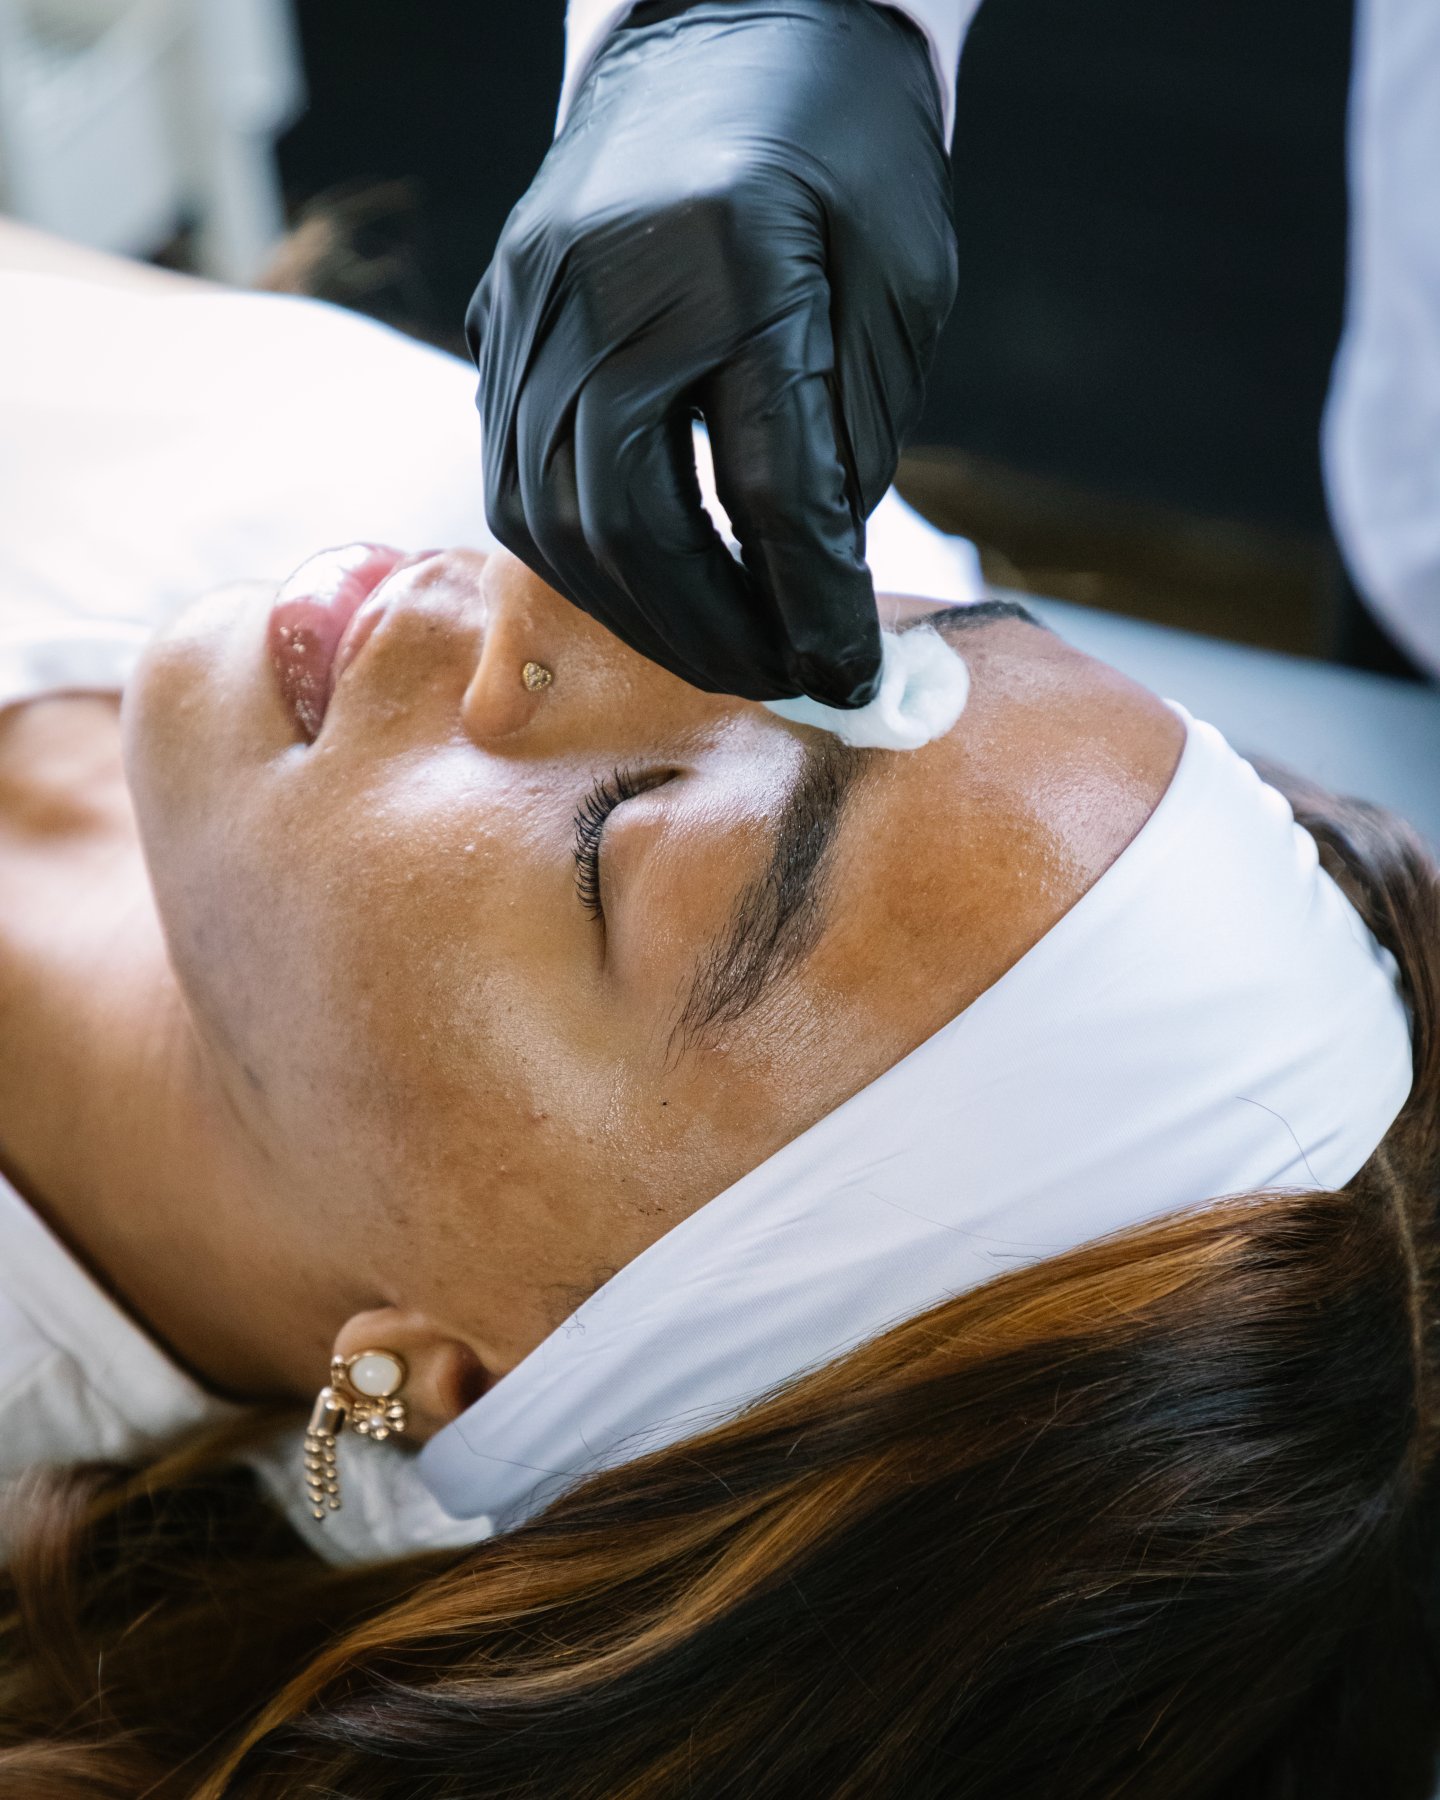
1. CLEANSE AND PREPARE THE SKIN
Start by cleansing the brow area with Satin Smooth Satin Cleanser. This helps remove makeup, dirt, debris and excess oil from the skin, creating a clean surface for waxing.
Proper cleansing also helps remove buildup around the hair follicles, allowing you to work more effectively during hair removal. Ensure the skin is clean and dry before moving on to mapping.
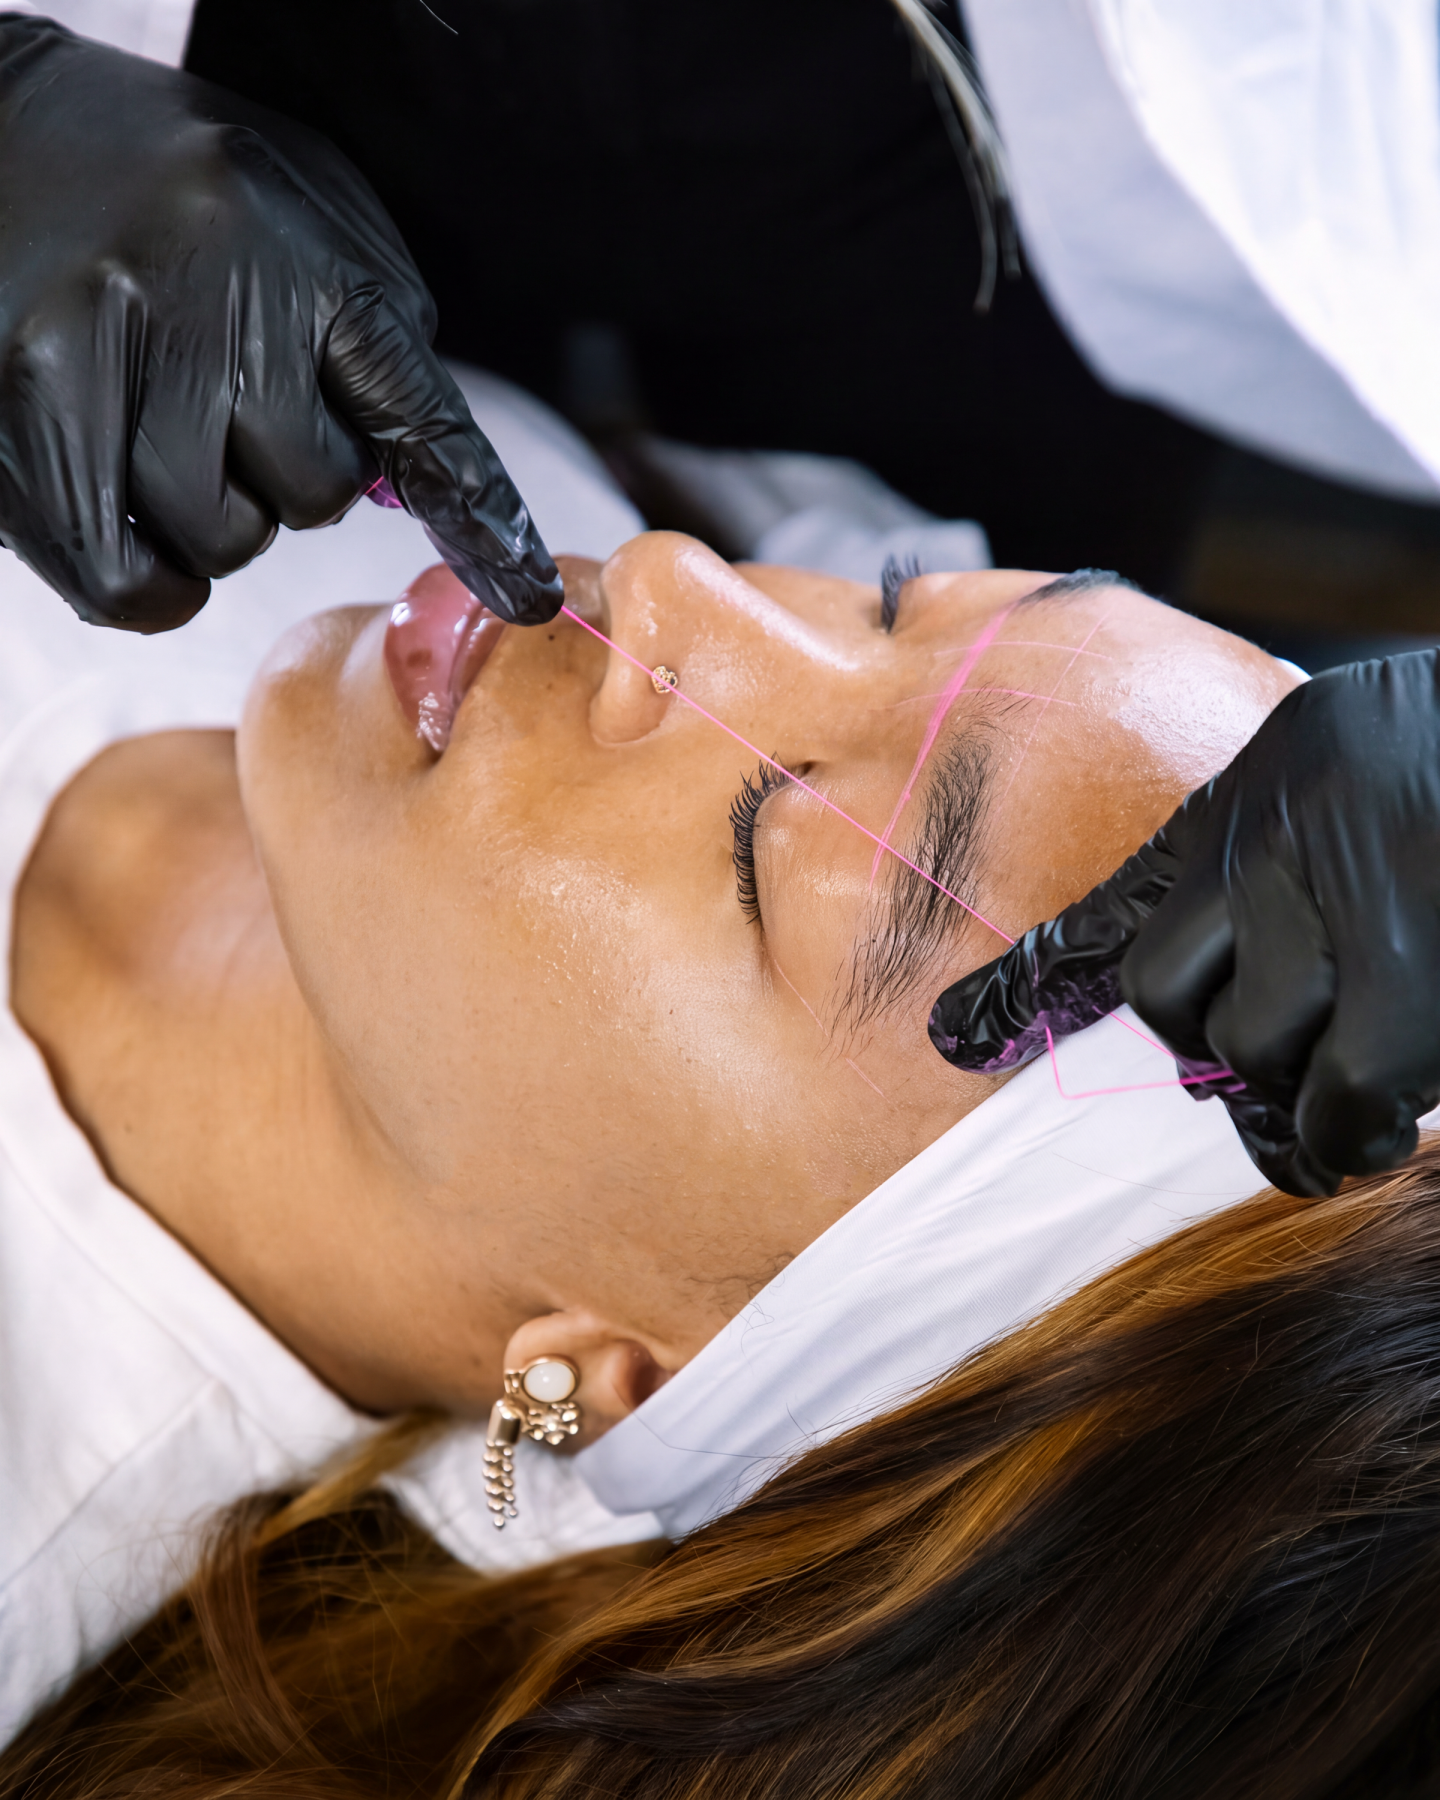
2. MAP THE BROW SHAPE
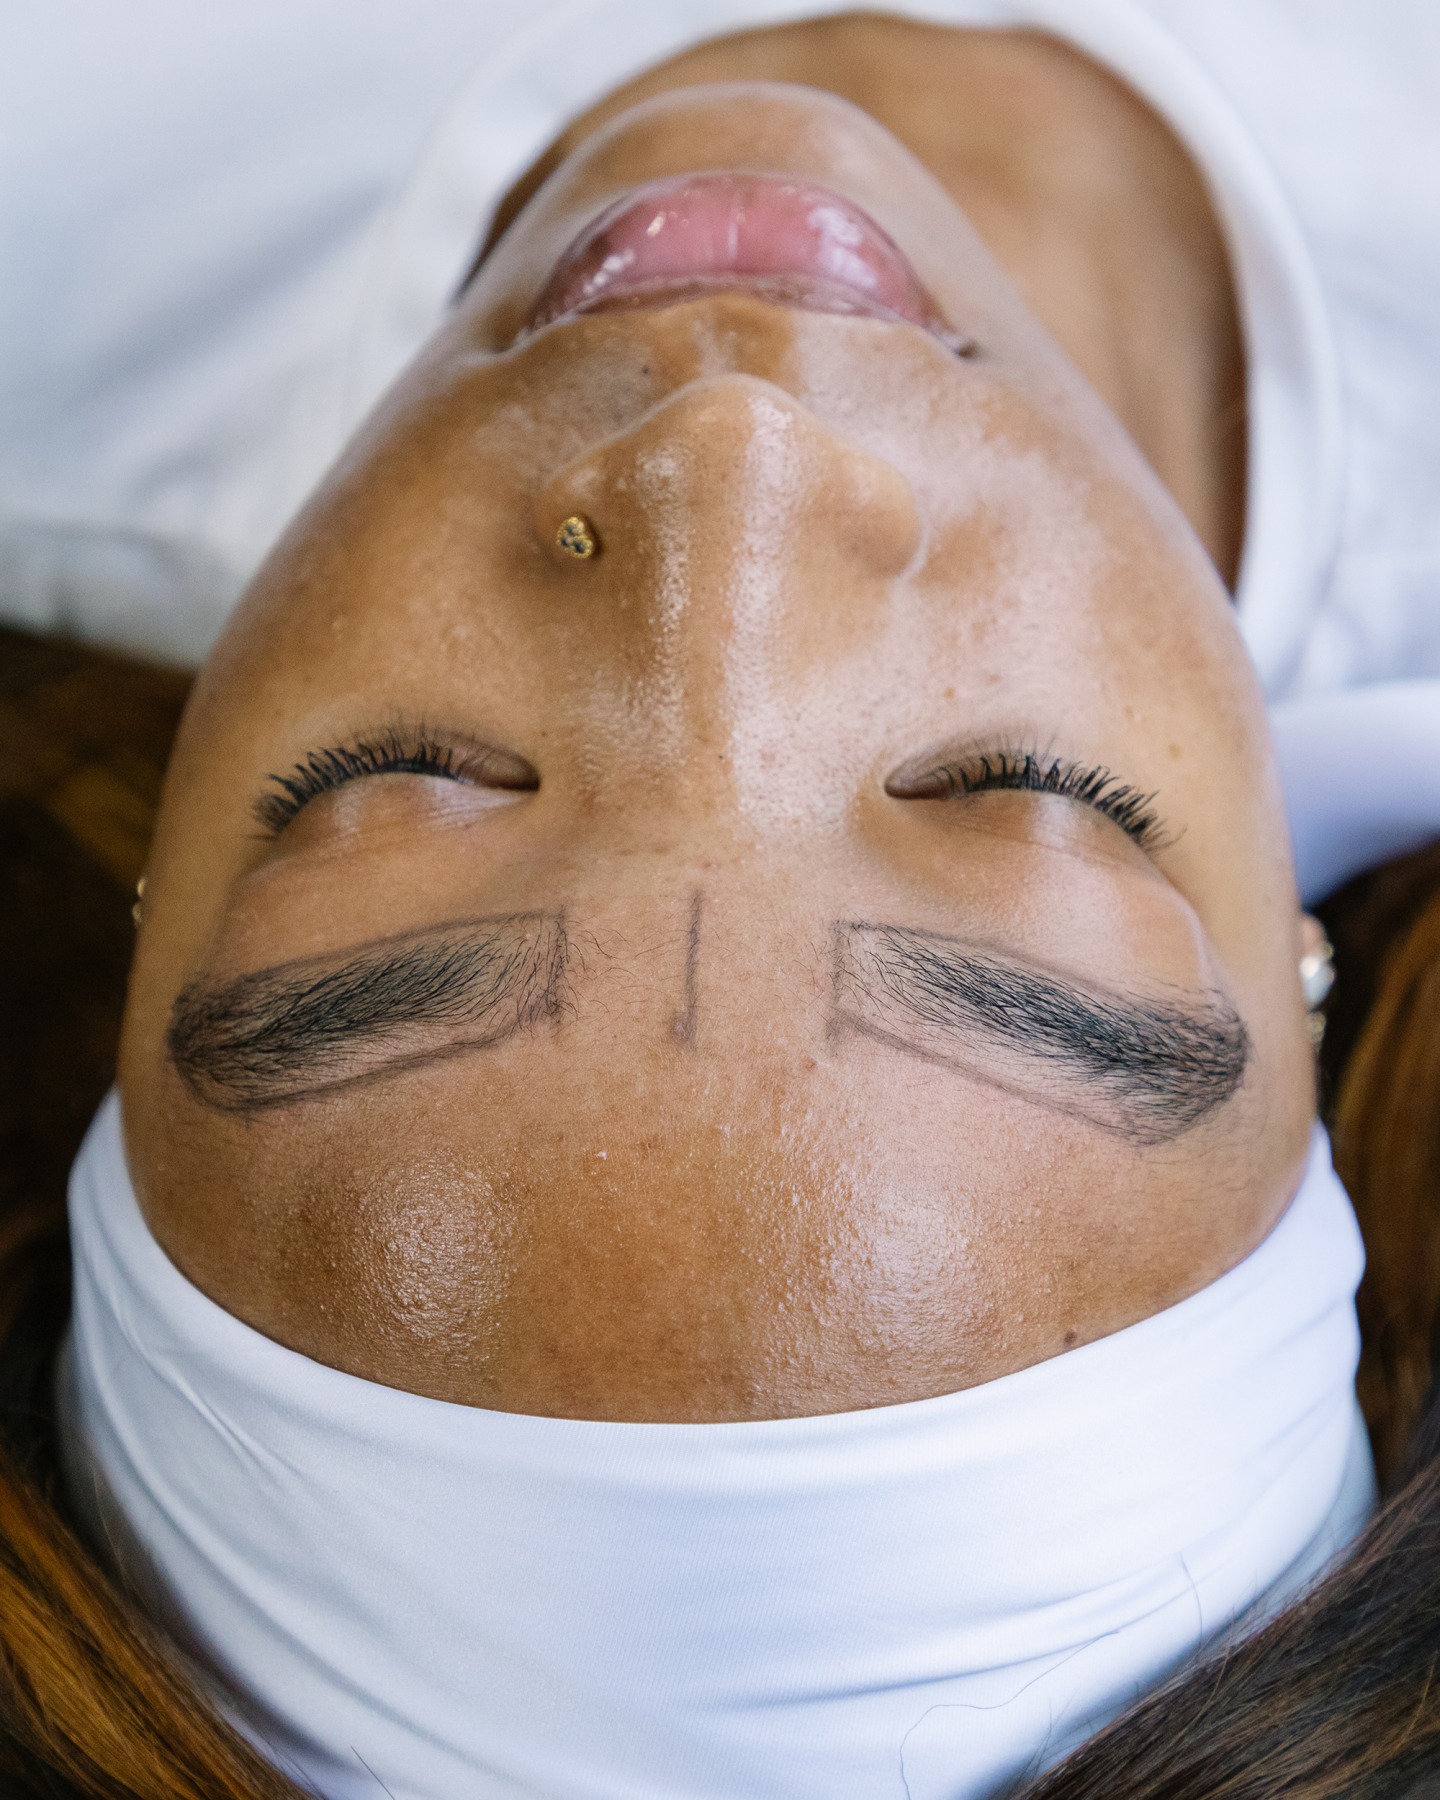
Before applying wax, use brow mapping string or a brow pencil to determine the ideal brow placement and shape for your client.Map out the beginning of the brow, the arch and the tail, using your preferred mapping technique to establish symmetry and guide hair removal. Taking time to plan the shape helps create a more precise result and ensures you have a clear outline to follow throughout the service.
Pro Tip: Explain the mapping process to your client before waxing so you can confirm the desired shape and make adjustments before removing any hair.
3. APPLY WAX WITH PRECISION
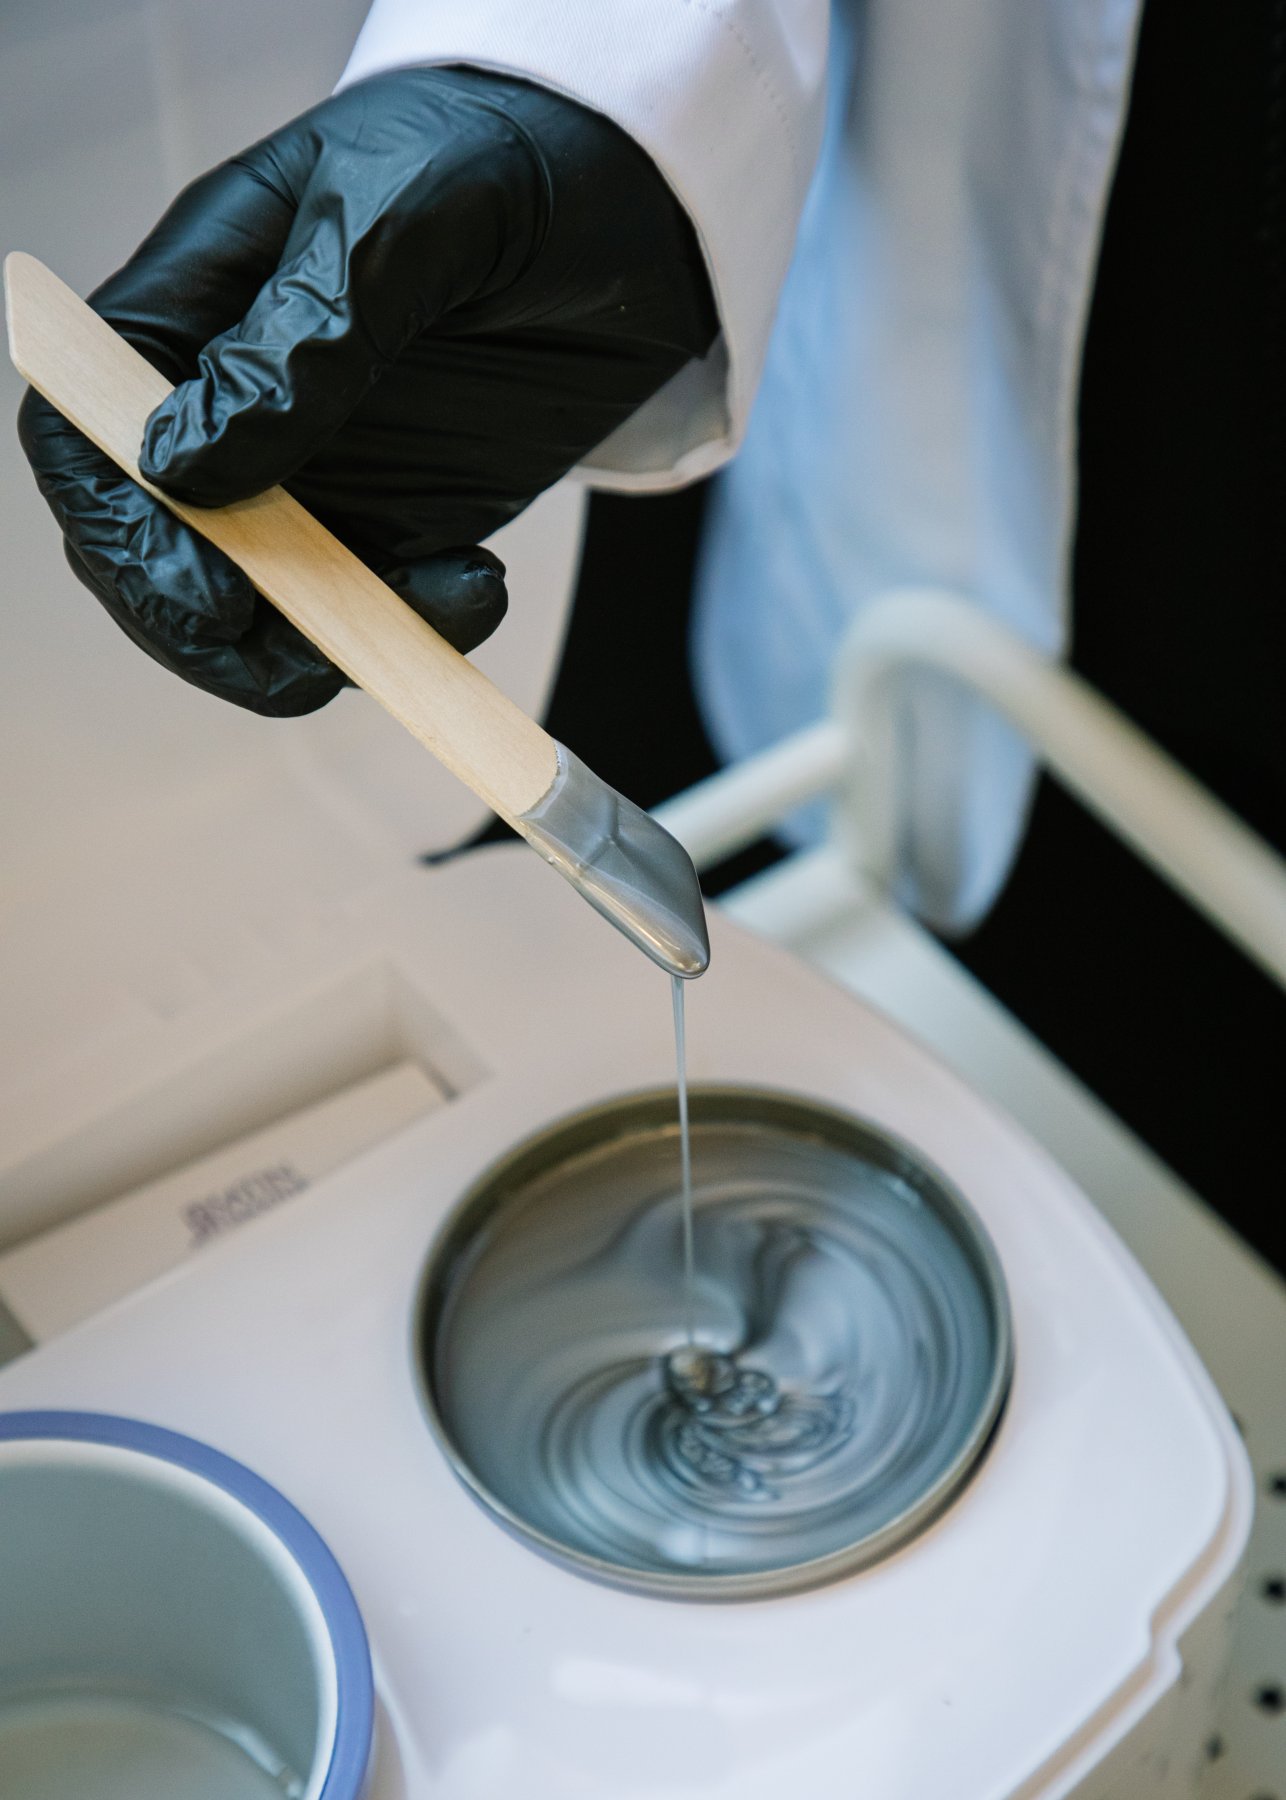
For controlled application, use Satin Smooth Eyebrow Applicators. Their fine tips help you apply wax accurately around the brow and follow your mapped shape.
Using Satin Smooth Muslin Strips and Satin Smooth Zinc Oxide Wax, apply a thin, even layer of wax in the direction of hair growth, working in small sections for greater control.
4. REMOVE THE HAIR
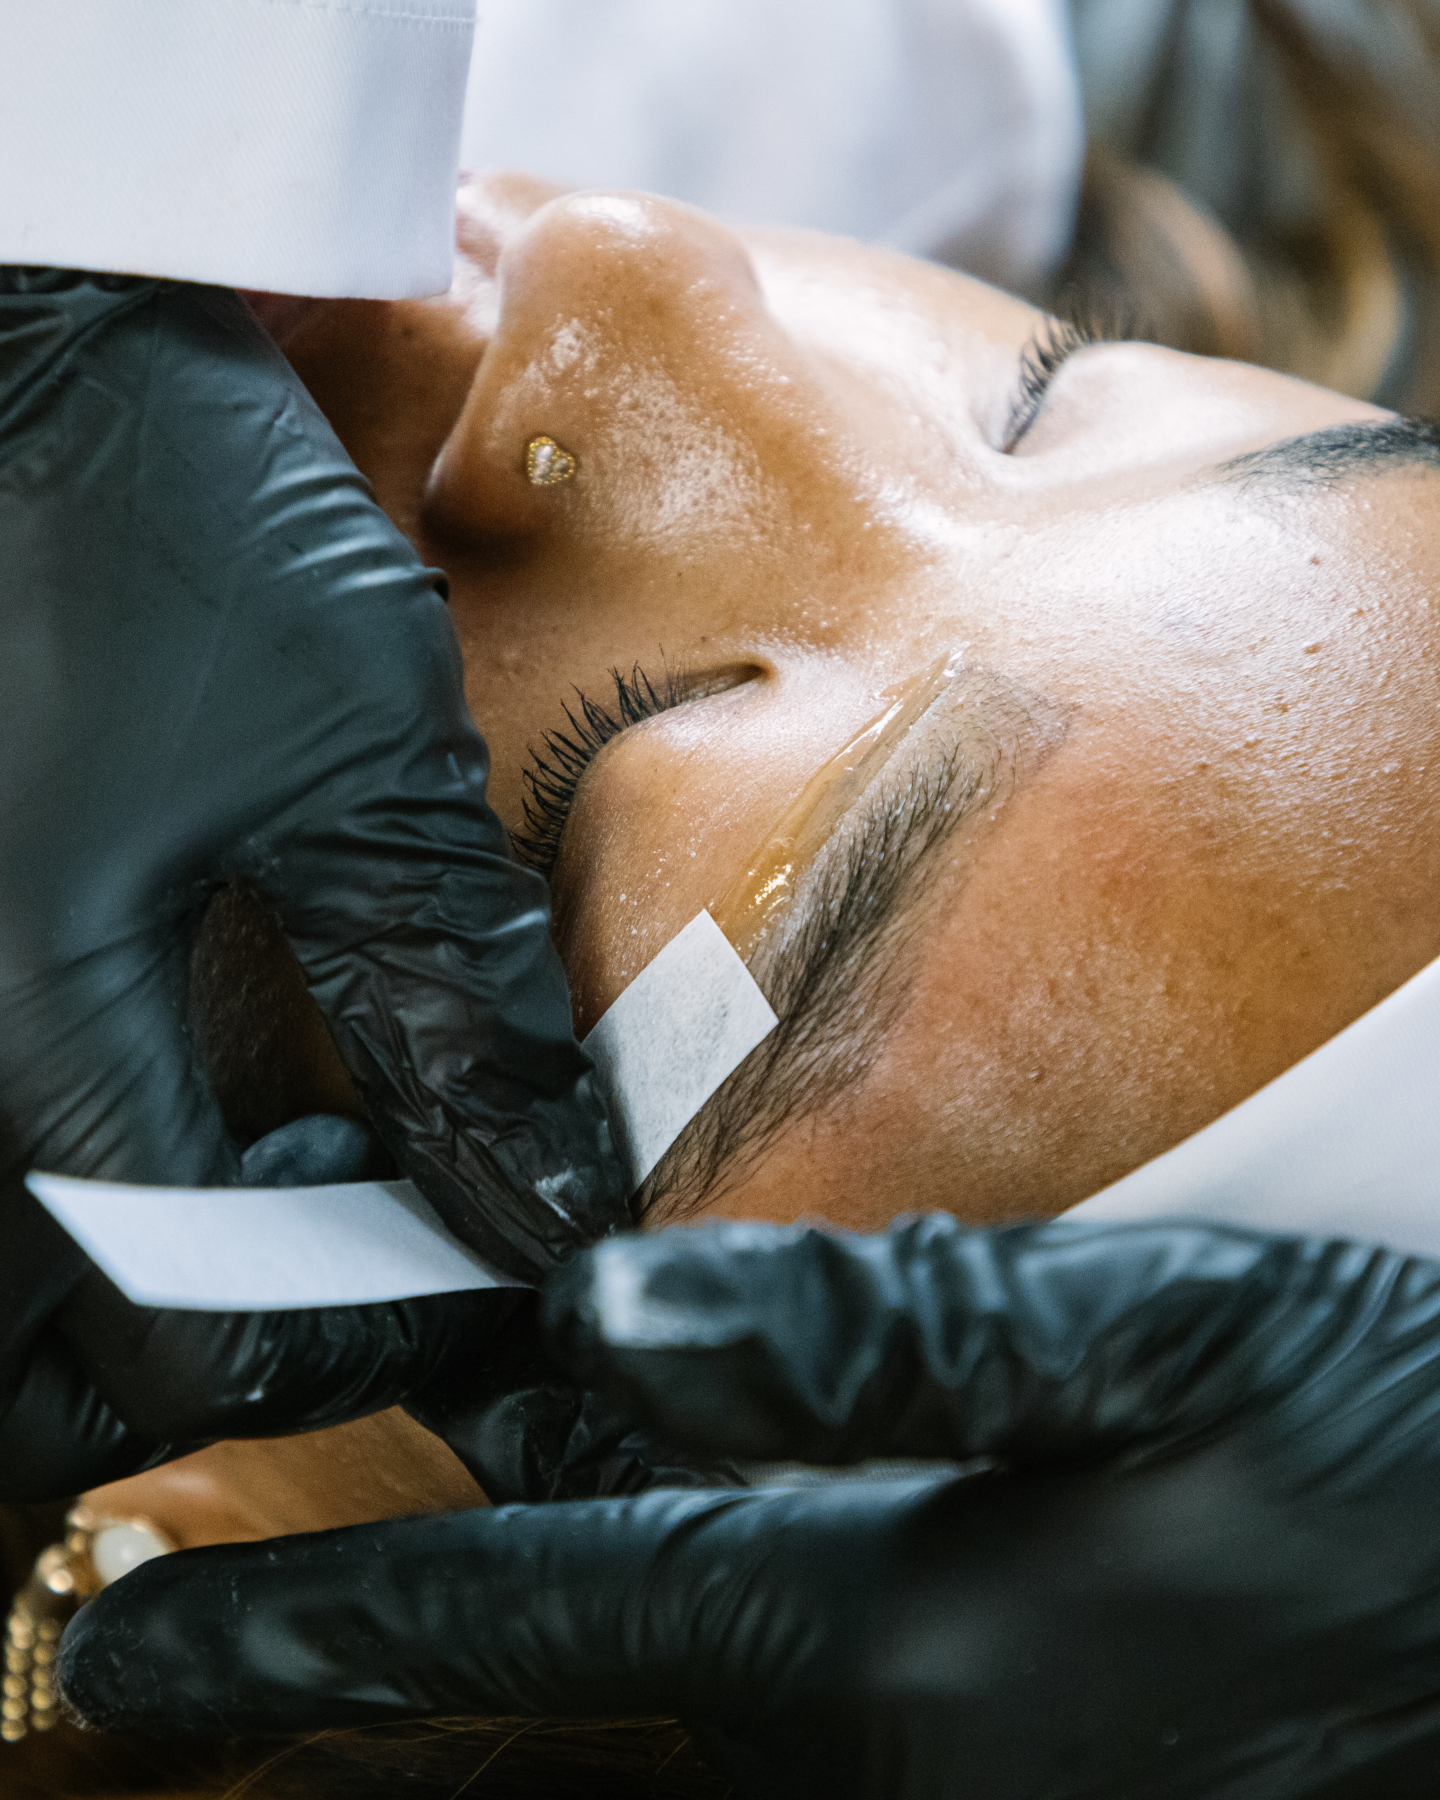
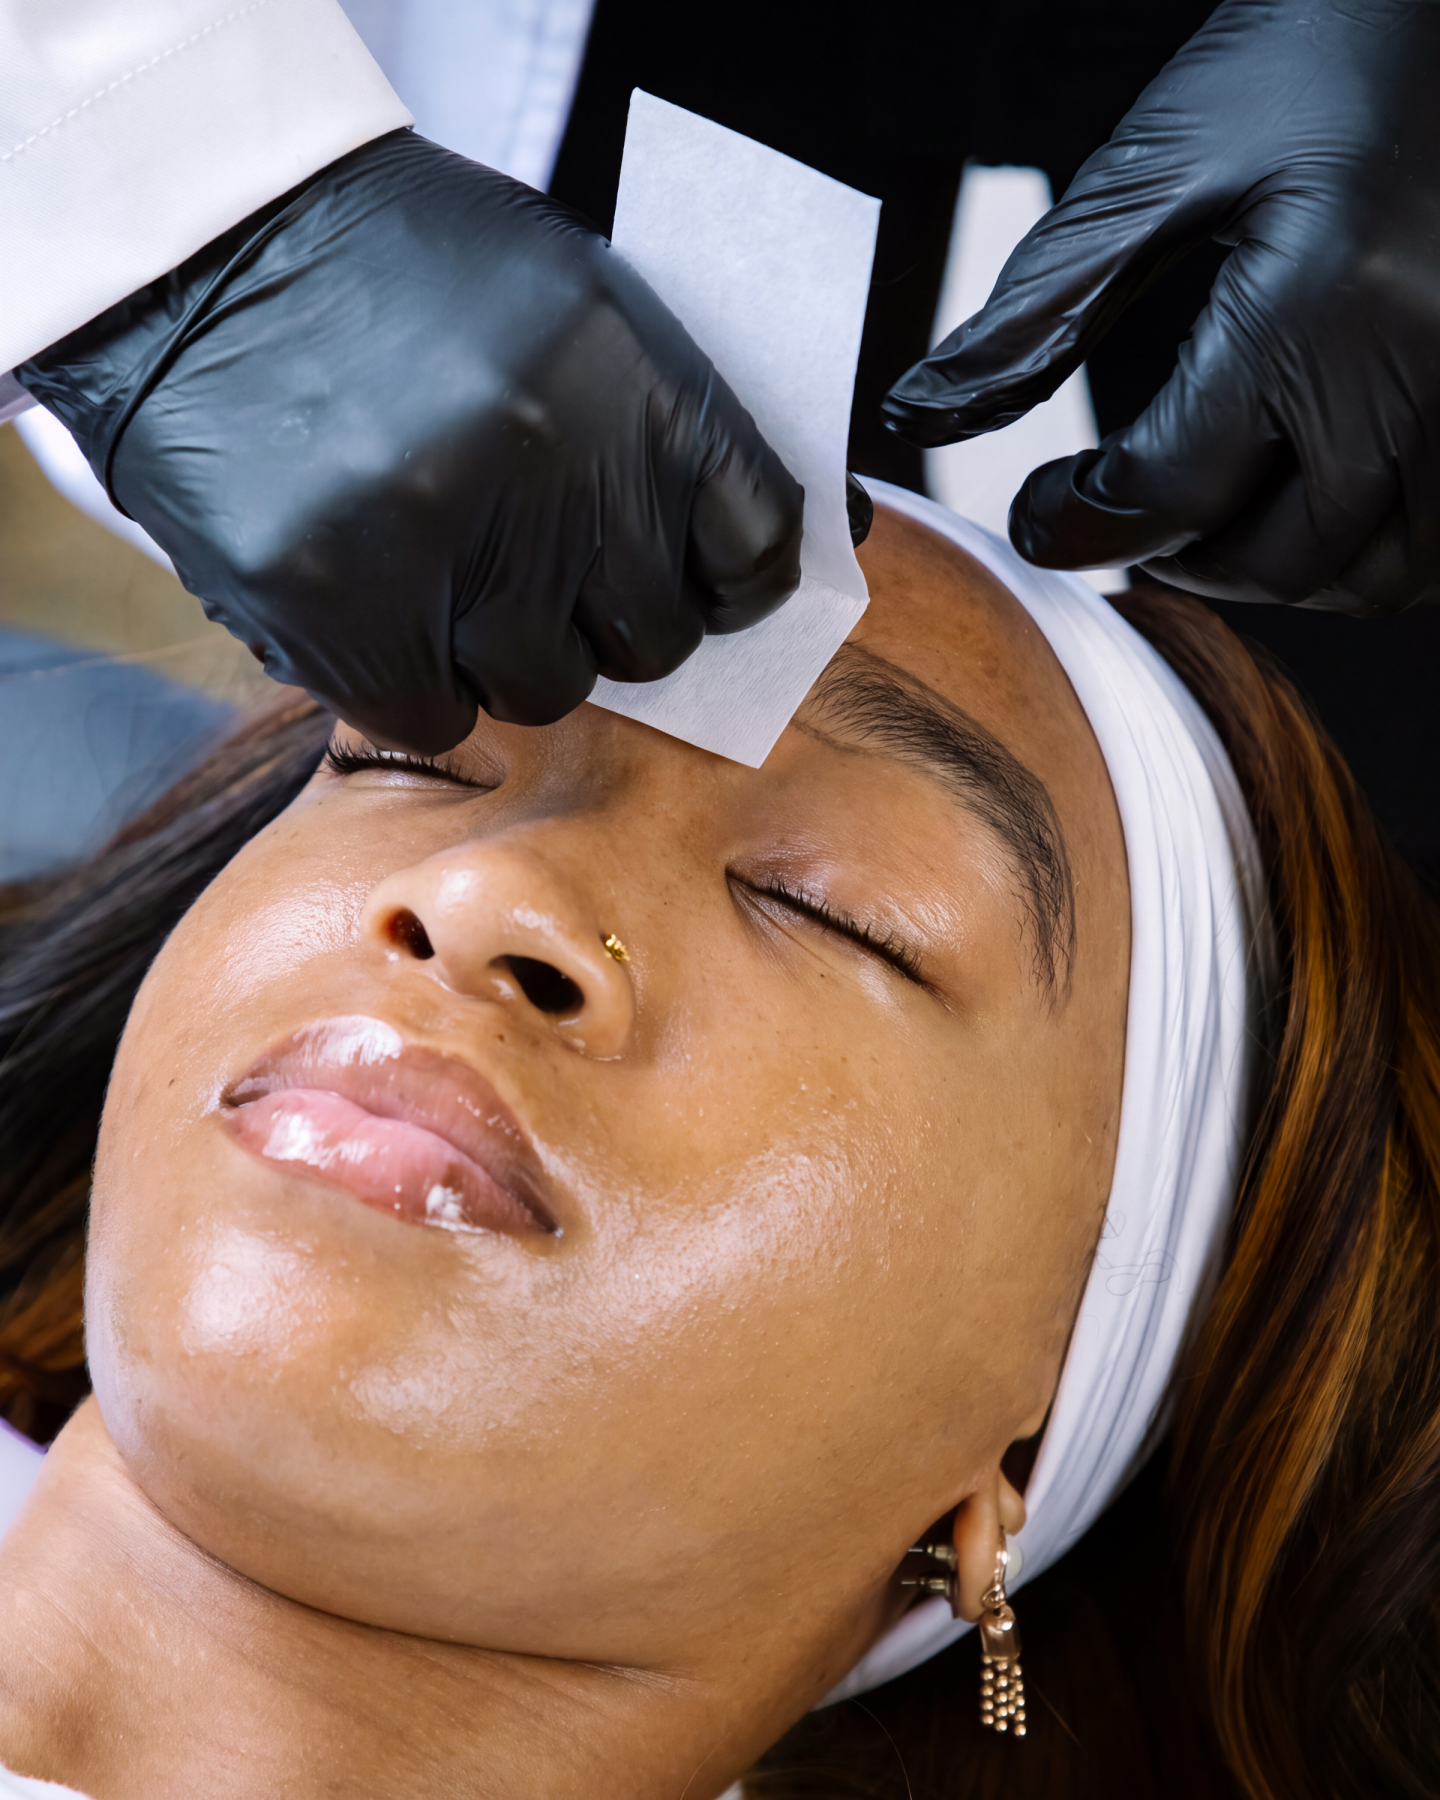
To remove, hold the skin taut to help minimize discomfort and support controlled hair removal.Grip the muslin strip as close to the skin as possible, then pull quickly in the opposite direction of hair growth, keeping the strip parallel to the skin rather than pulling upward. Immediately apply firm pressure to the treated area to help soothe the skin.
5. SOOTHE AND CARE FOR THE SKIN
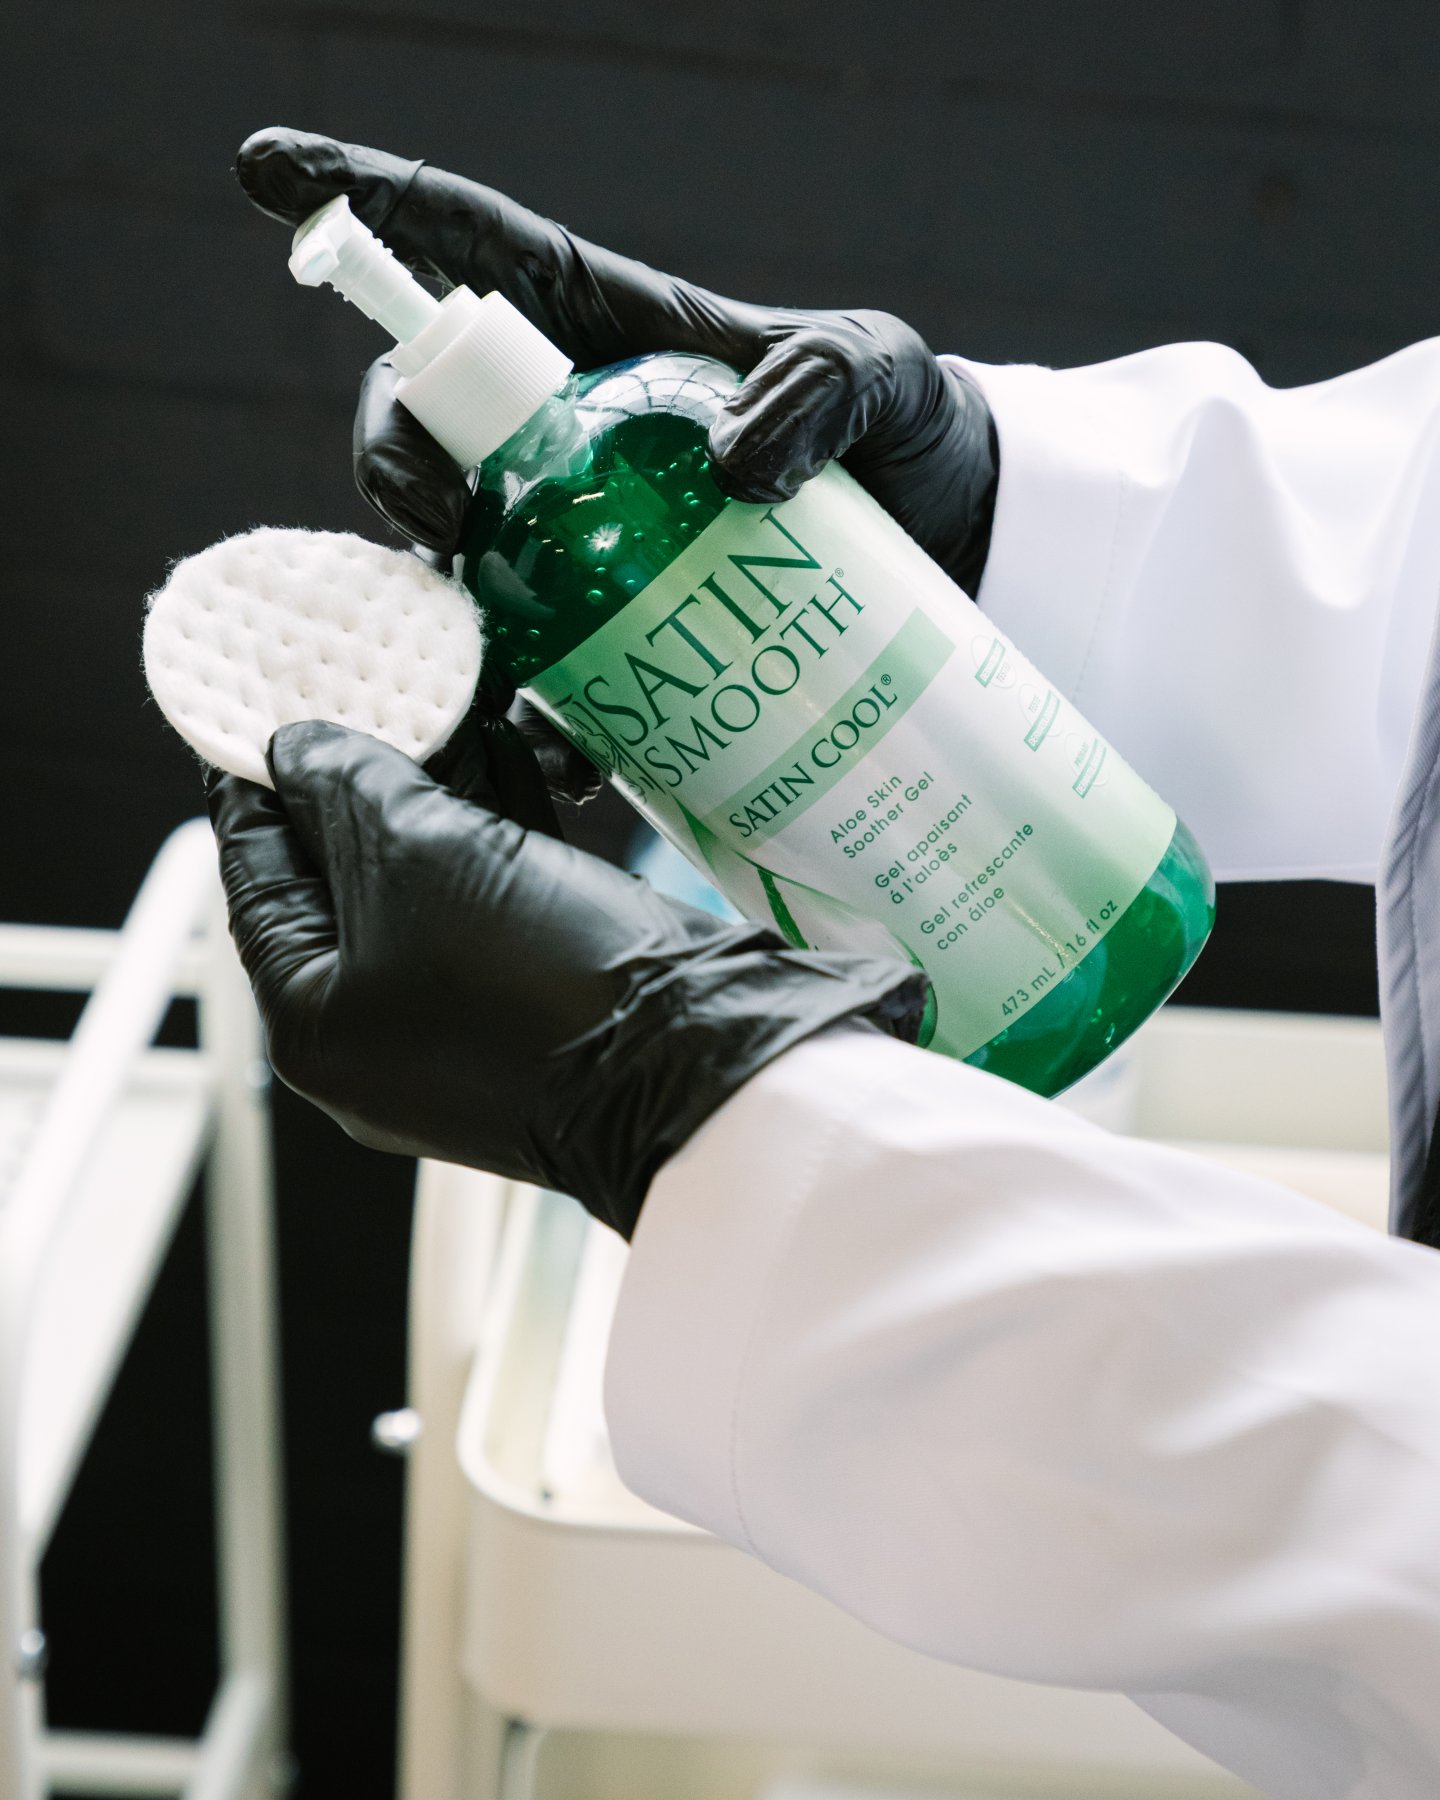
Finish the service with Satin Smooth Satin Cool to help reduce the appearance of post-wax redness and irritation.
Recommend avoiding excessive heat, friction and other potential irritants immediately after waxing, and remind clients to follow your aftercare recommendations.
Pro Tip: Layering Satin Smooth care products helps all products penetrate deeper into the skin!
BEFORE & AFTER TRANSFORMATION
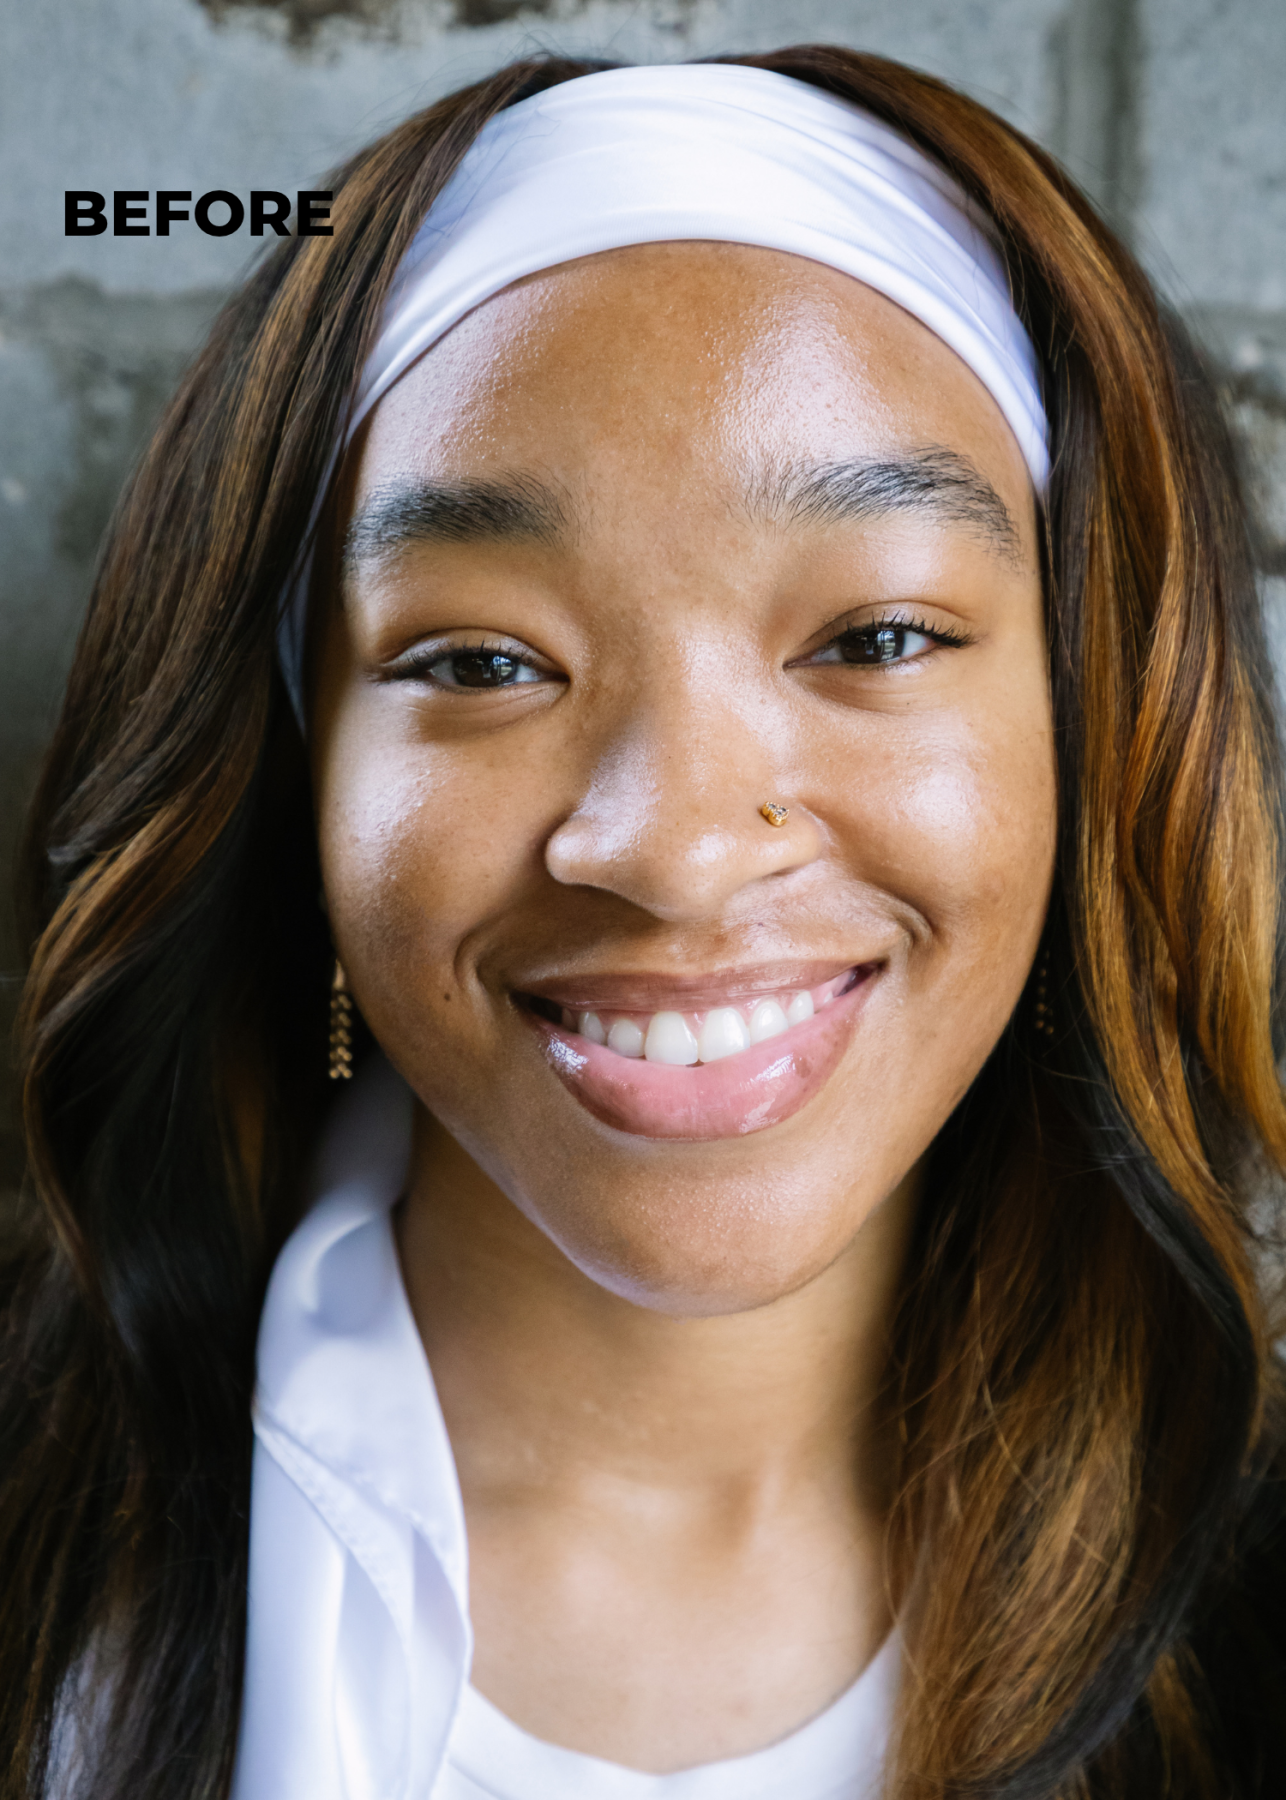
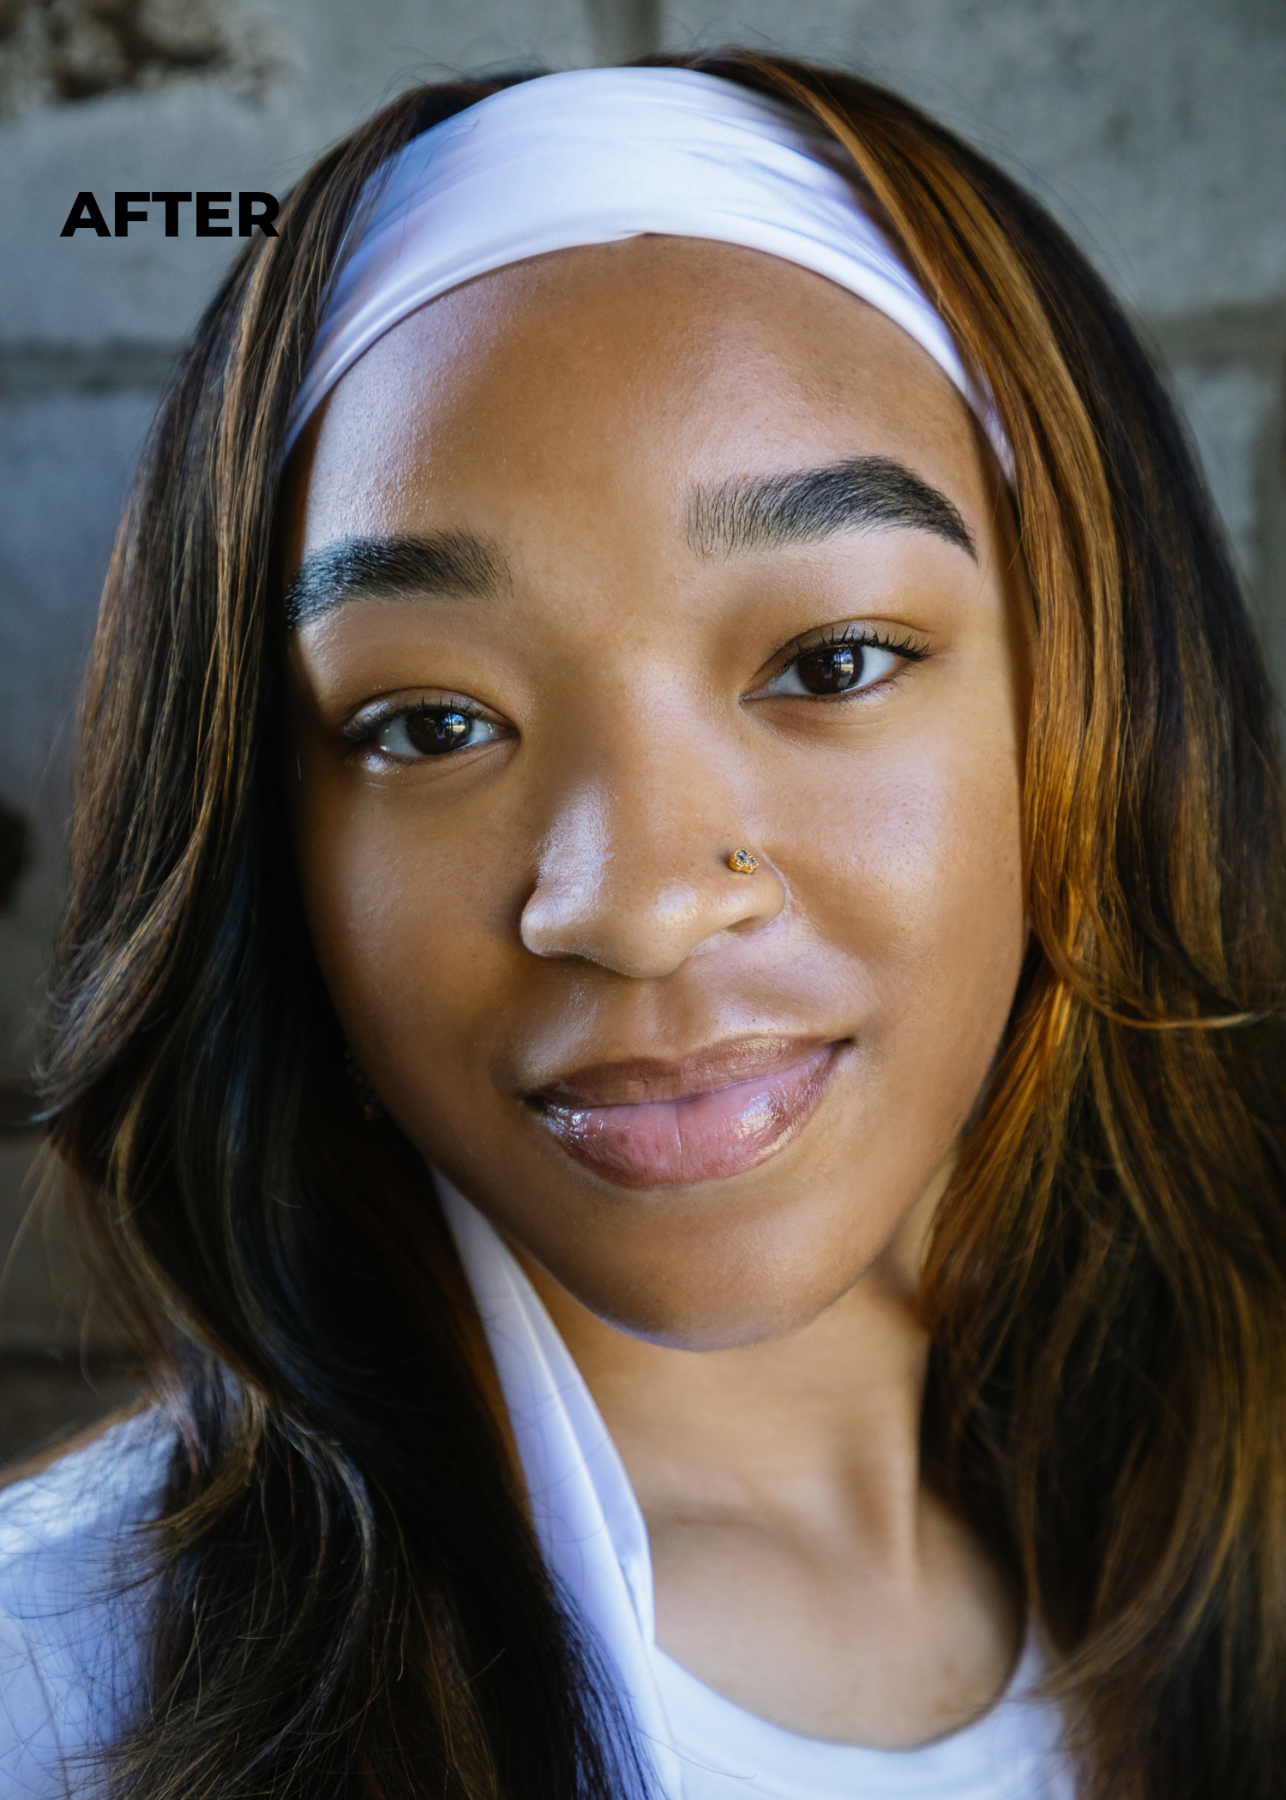
From cleansing and mapping to precise wax application and post-wax care, every step contributes to a more controlled brow waxing service. Keep your station stocked with Satin Smooth essentials and more at marlobeauty.com!
Pro Brow Waxing Questions, Answered!
Why is skin prep important before a brow wax?
Cleansing removes makeup, dirt, debris and excess oil that can get in the way of wax application. A clean, dry surface helps you work more effectively around the follicles. Satin Smooth Satin Cleanser is designed for this first step.
What’s the correct technique for removing brow wax?
Hold the skin taut and grip the muslin strip as close to the skin as possible. Pull quickly in the opposite direction of hair growth, keeping the strip parallel to the skin rather than lifting upward. Taut skin and a fast, parallel pull help minimize discomfort and support controlled removal.
What if my client has sensitive skin?
Prioritize comfort at every stage: keep the skin taut, work in small sections and use firm pressure after removal. Always follow your salon’s consultation, patch testing and safety protocols, and your state licensing guidelines, before treating clients with sensitivities or skin conditions.
| SHOP: | www.marlobeauty.com |
| SHARE: |
|


